|
Age Range: 7 to 12
Grade Range: 2 to 6
Skill Level: Moderate
Appropriate for These Special Events:
Every Day and Rainy Days
Supports Subject Area(s) of:
Sciences
Language Arts – e.g. step by step instructions
Mathematics - measuring
Visual Arts
Time Needed for Project:
1 ½ hour plus drying time
Main Materials:
Elmer’s® School Glue Gel
Elmer’s® 3D Classic Glitter Colors
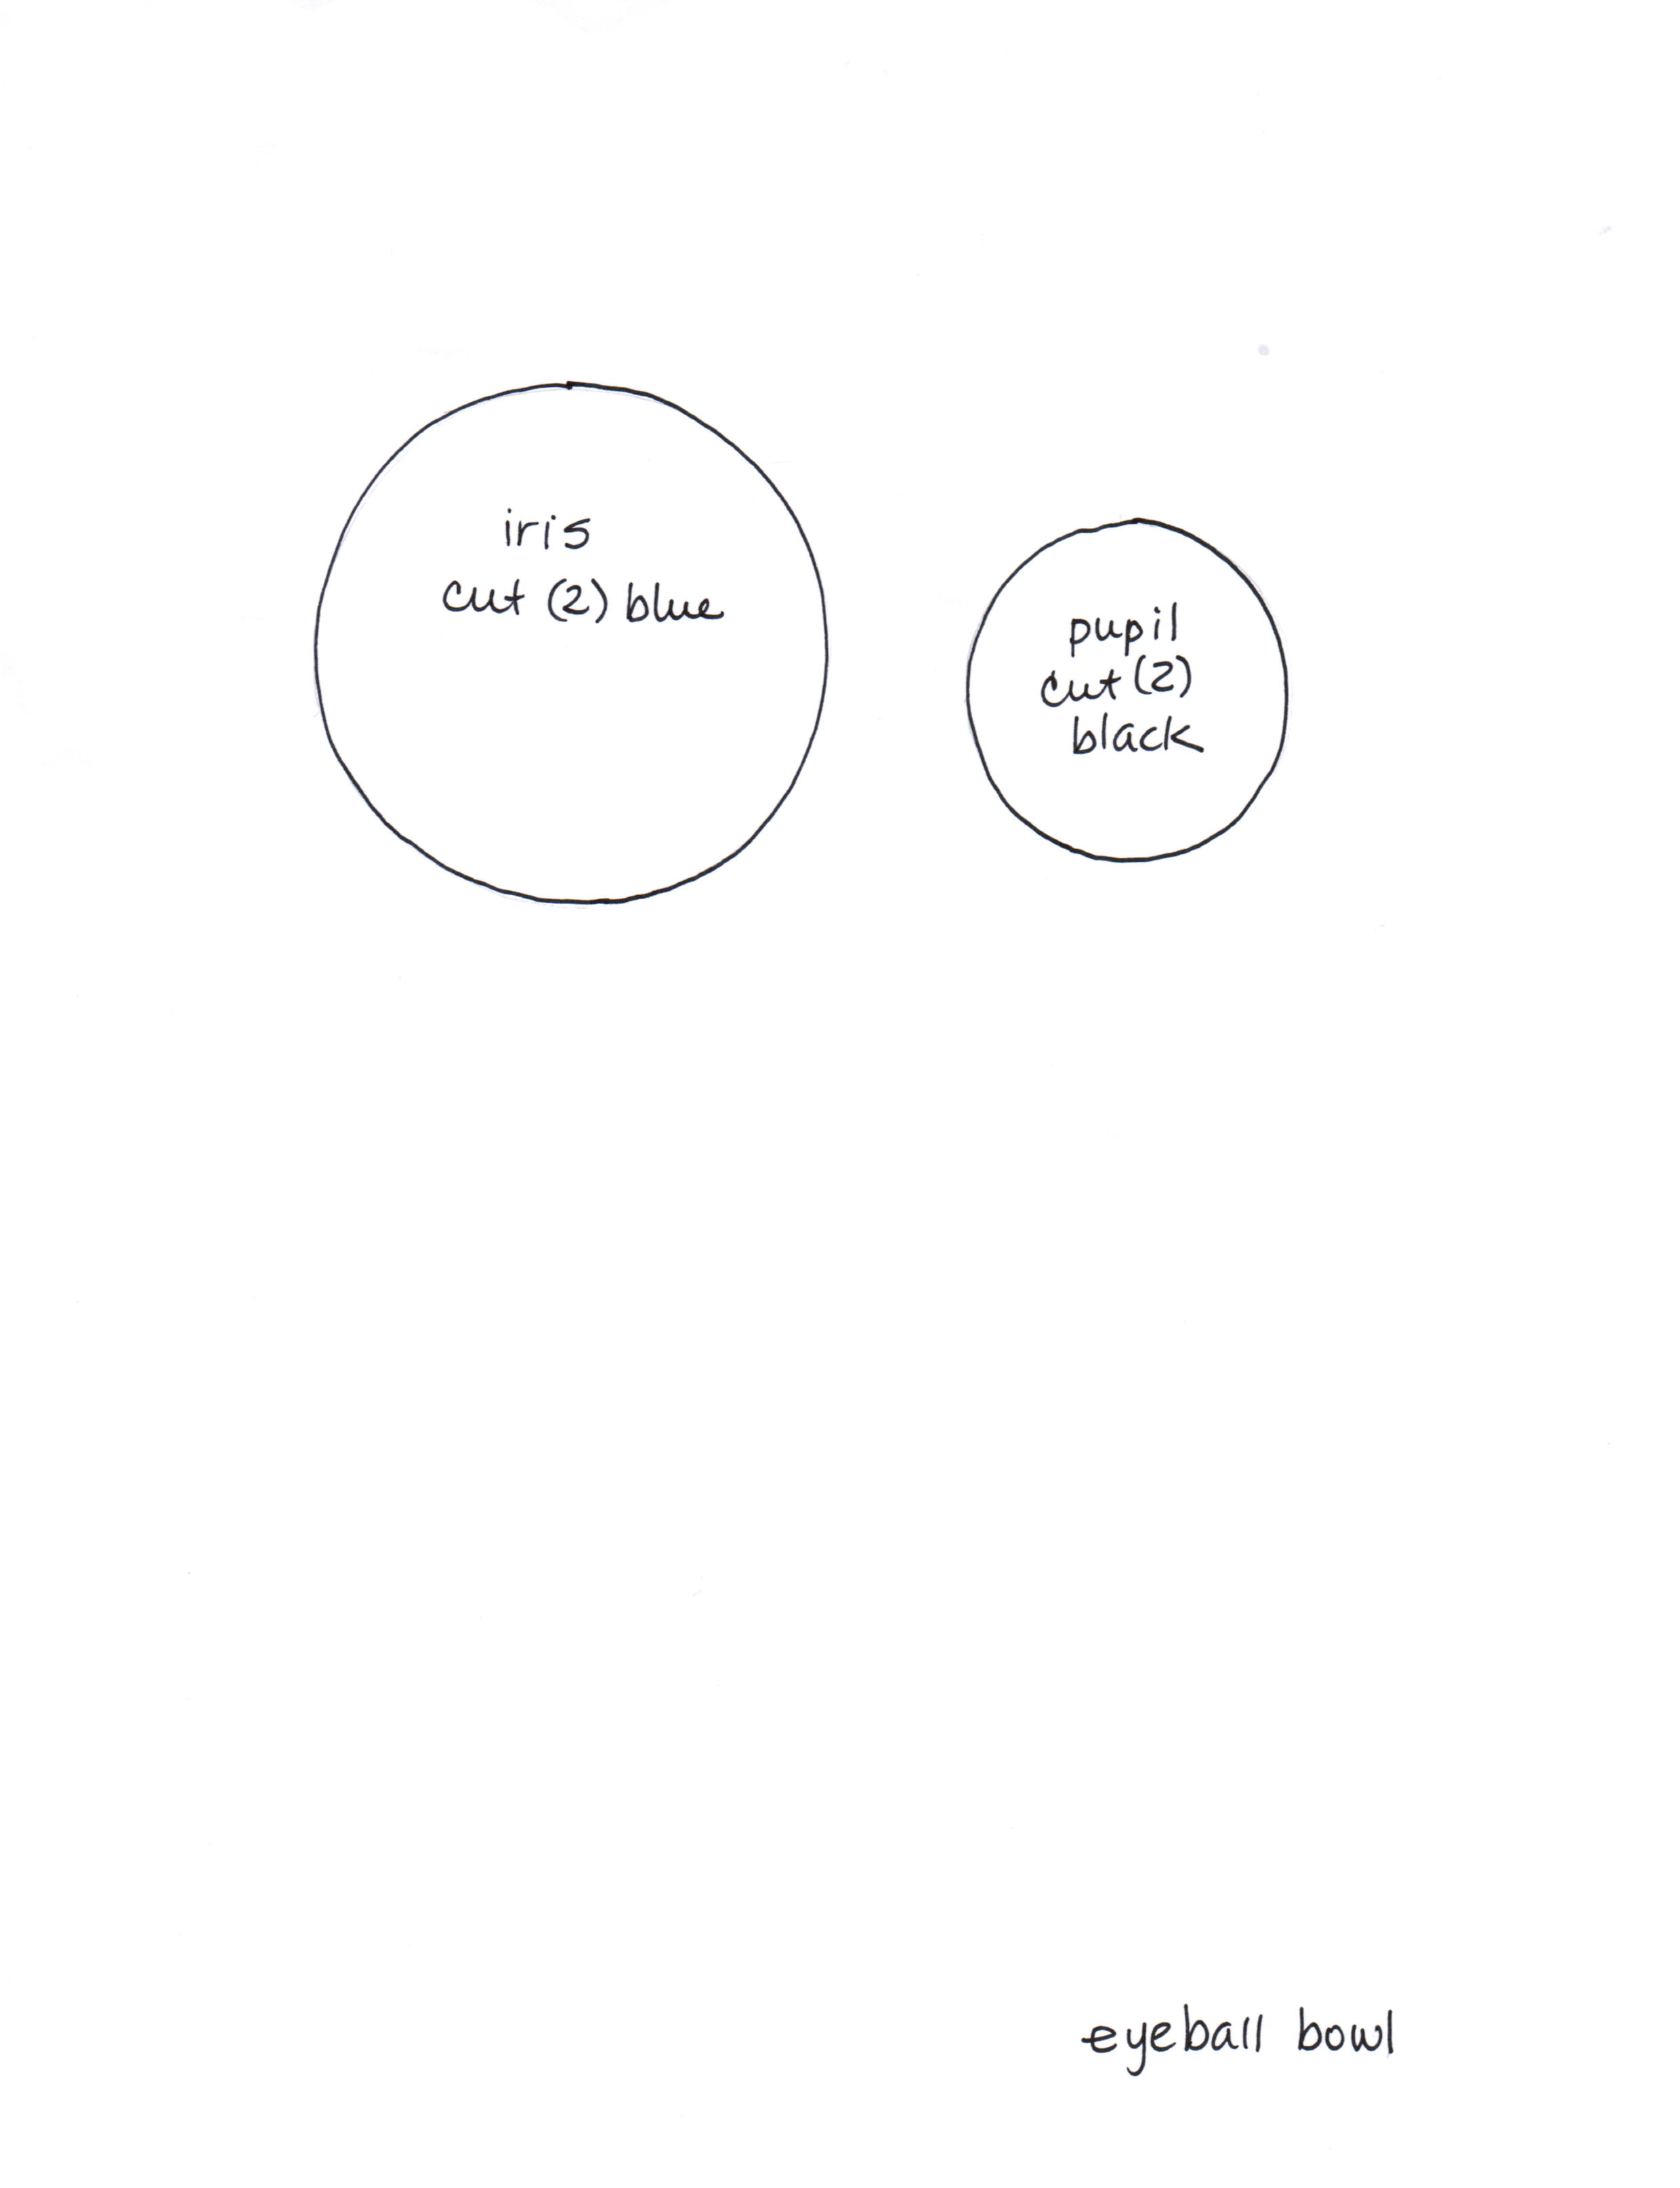
Click here to download the pattern for this project.
Basic Materials:
Small glass bowl
Tissue paper – white, black, royal blue
Brush – 1” flat
Foam plate
Plastic tub for water
Paper towels
Scissors
Instructions:
- Wash and dry bowl removing all labels.
- Tear a section of white tissue into about 1 ½” squares, tearing quite a few.
- Cut eye patterns from pattern sheet. Layer two pieces of black tissue, place iris pattern in center then cut around, repeat step with eye pattern on blue.
- Remove lid of glue then squeeze a puddle onto center of plate. The glue needs to be thinned before starting. Use brush to add about a teaspoon of water to glue then use brush to thoroughly mix. Working in sections at a time, brush on an even layer of glue to bowl. Tap brush onto white piece of tissue then press onto glue, brushing over to secure. Tap onto another piece then place slightly overlapping first. Repeat steps until entire bowl is covered with one layer of tissue adding more glue to bowl and brush as needed. Set aside to dry. Clean brush thoroughly. When dry add another layer. Let dry.
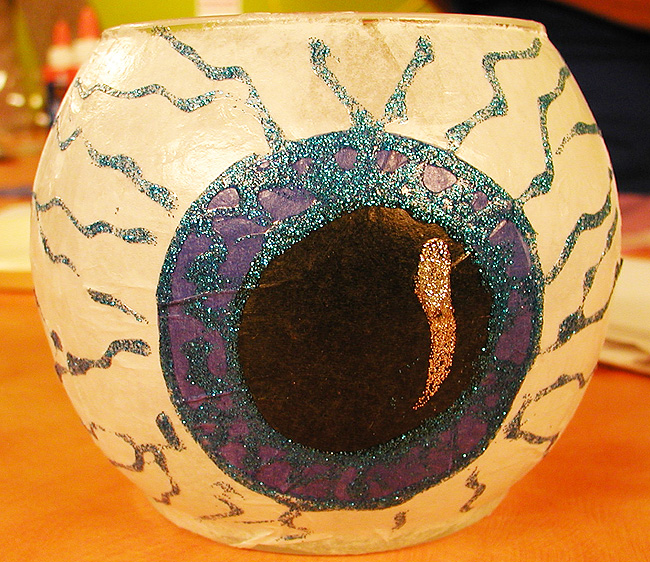
- Brush a circle of thinned glue slightly larger than eye pattern on center side of bowl, tap onto one section on blue, position in glue and brush into place. Layer on second piece and brush in place. Add the two pupil sections one at a time where shown. Let dry.
- Start flow of Blue Glitter 3D Paint on paper towel. Referring to photo for placement, outline pupil and eye, add lines on eye section then lines radiating from eye. Add Silver Glitter highlight to eye. Let dry.
|
