|
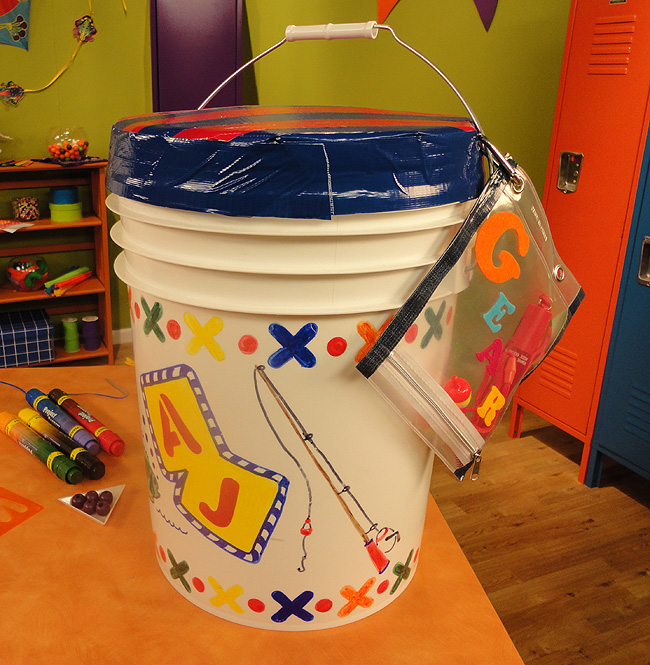
Fill this tote with your favorite fishing lures, camping gear or slumber party supplies.
Age Range: 7 to 12
Grade Range: 2 to 6
Skill Level: Moderate
Appropriate for These Special Events:
Every Day, Rainy Days and Camping days
Supports Subject Area(s) of:
Language Arts – e.g. step by step instructions
Mathematics - measuring
Visual Arts
Time Needed for Project:
1 hour
Main Materials:
5 gallon bucket with lid
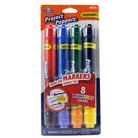
Elmer's® Popperz® Permanent Markers
Pepperell Rexlace™ or Amy Cord
Horizon wood or pony beads
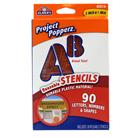
Elmer's® Popperz® letter stencils
Duck® Brand Tape
Horizon feathers (optional)


Basic Materials:
Pencil
Foam chair cushion
Scissors
Instructions:
- Lay or tape the stencils on the bucket and trace with a pencil.
- Color in the outlines with permanent marker
- Optionally, you can tie a piece of cord around the handle and cover with a half hitch knot. With the cord on top, pull the center of the cord across the top with the extra cord in the right hand. Bring the extra cord down, underneath the handle and back up through the cord loop being held with the other hand, pulling the extra cord snug. Repeat for the entire handle.
- Tie off the cord at the end of the handle and leave a little for beads or feathers.
- String beads to the ends of the cords with knots.
- Trace the lid of the bucket onto the foam and cut out.
- Tape it to the lid with duct tape.
|


