|
Age Range: 7 to 12
Grade Range: 2 to 6
Skill Level: Moderate
Appropriate for These Special Events:
Every Day and Rainy Days
Supports Subject Area(s) of:
Language Arts – e.g. step by step instructions
Visual Arts
Time Needed for Project:
1 hour plus drying time
Main Materials:
Horizon Bucket of Bling acrylic gems
Craft felt and foam assortment
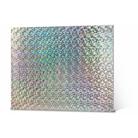
Elmer's® Holographic foam core sheet
Elmer's ®Craft Bond tacky glue
Horizon Foam flower stickers
Plaid® Apple Barrel White gloss paint
Elmer's® White School Glue
FloraCraft® 12 x 1" foam sheet
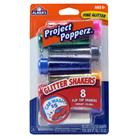
Elmer's® Project Popperz® iridescent glitter
Pepperell extra-long noodle
X-acto® knife and cutting mat
Basic Materials:
Decorative ribbon
Long straight/corsage pins
Serrated knife
Paint brush
Scissors
Pencil
Instructions:
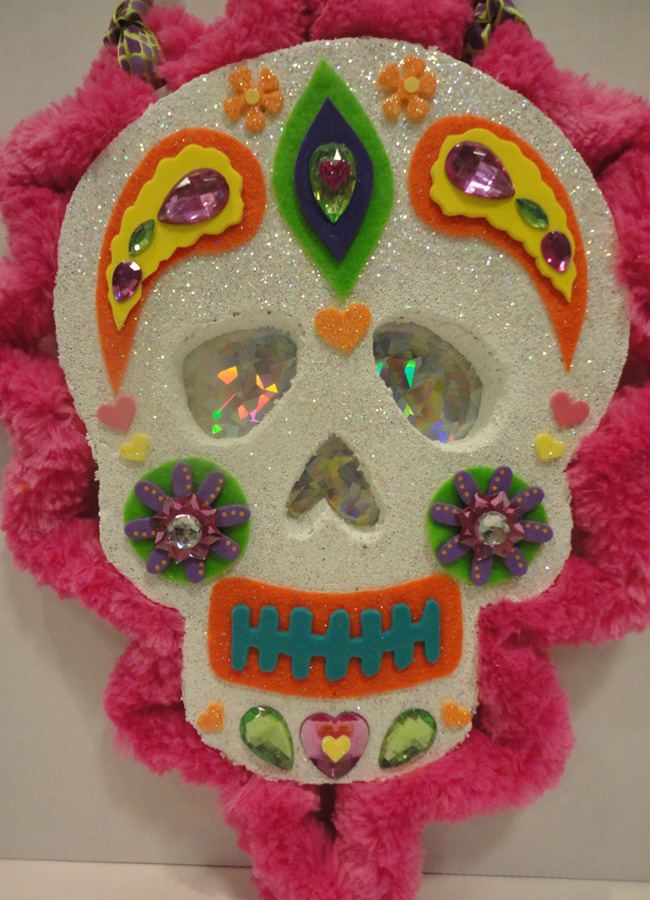
- Trace the skull shape onto the foam and cut out with serrated knife.
- Paint the skull white and set aside to dry.
- Spread a layer of white school glue over the top of the skull and sprinkle with glitter.
- Cut a rectangle that will fit on the back of the skull from the holographic foam core. Glue this piece to the back of the skull.
- Trace decorative patterns and mouth onto craft foam and/or felt and cut out. Glue corresponding pieces together and top with acrylic gems.
- Using photo as a guide, glue these pieces to the skull. Add extra embellishments with the gems and foam stickers.
- Make short zig-zags along the noodle. Poke a hole in the edge of the skull and glue end of noodle in. Continue adding glue to the ends of the zig-zags and pinning with straight pins around the edge. Finish by poking the end of the noodle into the side. Leave to dry.
- Tie the decorative ribbon to the top of the zig-zags to hang.
|