|
Hands on Crafts For Kids is the resource for kids craft projects and instructions for kids 6-12 and parents, teachers and other group leaders. It includes school and curriculum based projects, multi cultural projects, and every day, holiday and seasonal ideas. |
| 1602-4 | Print | Close [X] |
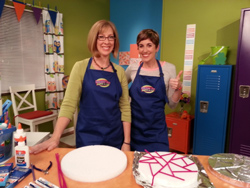
STAINED GLASS - Designed by Cheryl Ball Watch the video for this project online at:
|
 |
Always cover your work surface with a mat or some type of protective covering like wax paper or plastic.
Age Range: 7 to 12
Grade Range: 2 to 6
Skill Level: Moderate
Appropriate for These Special Events:
Every Day and Rainy Days
Supports Subject Area(s) of:
Language Arts – e.g. step by step instructions
Mathematics - measuring
Visual Arts
Time needed for project:
2 to 3 hours – includes drying time required between steps
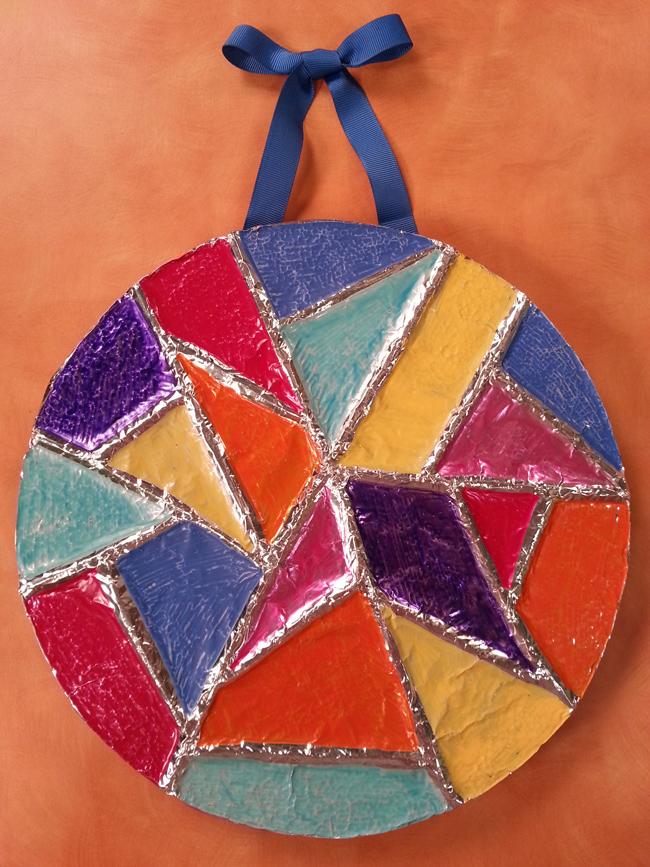
STAINED GLASS
Designed by: Cheryl Ball
Main Materials:
Elmer’s® Craft Bond® Tacky Glue
Elmer’s® School Glue
Elmer’s® Glitter Glue
FloraCraft® Styrofoam™ – 10” disc
Basic Materials:
Aluminum foil – heavy duty
Scissors
Pipe cleaners
Sewing pins
Ribbon – ¾” wide – 1 1/2 yard, color to match
Paper towels
Cotton swabs
Craft snips
Pencil

Instructions:
- Use a pencil to draw lines on one side of disc referring to picture or where desired.
- Apply a thin line of glue along one of the lines then press pipe cleaner into glue holding for a few seconds. Glue on remaining pipe cleaners along lines using wire cutter to trim pipe cleaners as needed to fit area. Let dry.
- Tear off a piece of foil larger than disc. Use scissors to trim foil to about 2” from edge. Squeeze a thin line of glue around edge of design then squeeze thin lines over entire design. Use finger to spread glue on foam within each section.
- Starting in center, press foil into place over dried design using fingers to carefully press foil into each section and around pipe cleaners. Keep pressing and smoothing until entire design is covered. Use cotton swab to press foil close to pipe cleaner in each section. Let dry.
- Trim foil along sides to about ¾”. Apply glue to side of disc then press foil down onto side holding with straight pins if needed till dry.
- Start paint pens on paper towel following package instructions. Fill in each area with color painting right next to pipe cleaners as shown. Fill in with desired colors. Let dry.
- Measure ribbon around edge of disc and add 1” and cut. Glue into place. To create hanger, tie remaining ribbon into bow, flip disc over, adjust length of hanger then glue ends into place on back, holding with pins if needed till dry.
Our Partners:
|

E-mail questions about Hands On Crafts for Kids to info@craftsforkids.com |