|
Hands on Crafts For Kids is the resource for kids craft projects and instructions for kids 6-12 and parents, teachers and other group leaders. It includes school and curriculum based projects, multi cultural projects, and every day, holiday and seasonal ideas. |
| 1604-4 | Print | Close [X] |
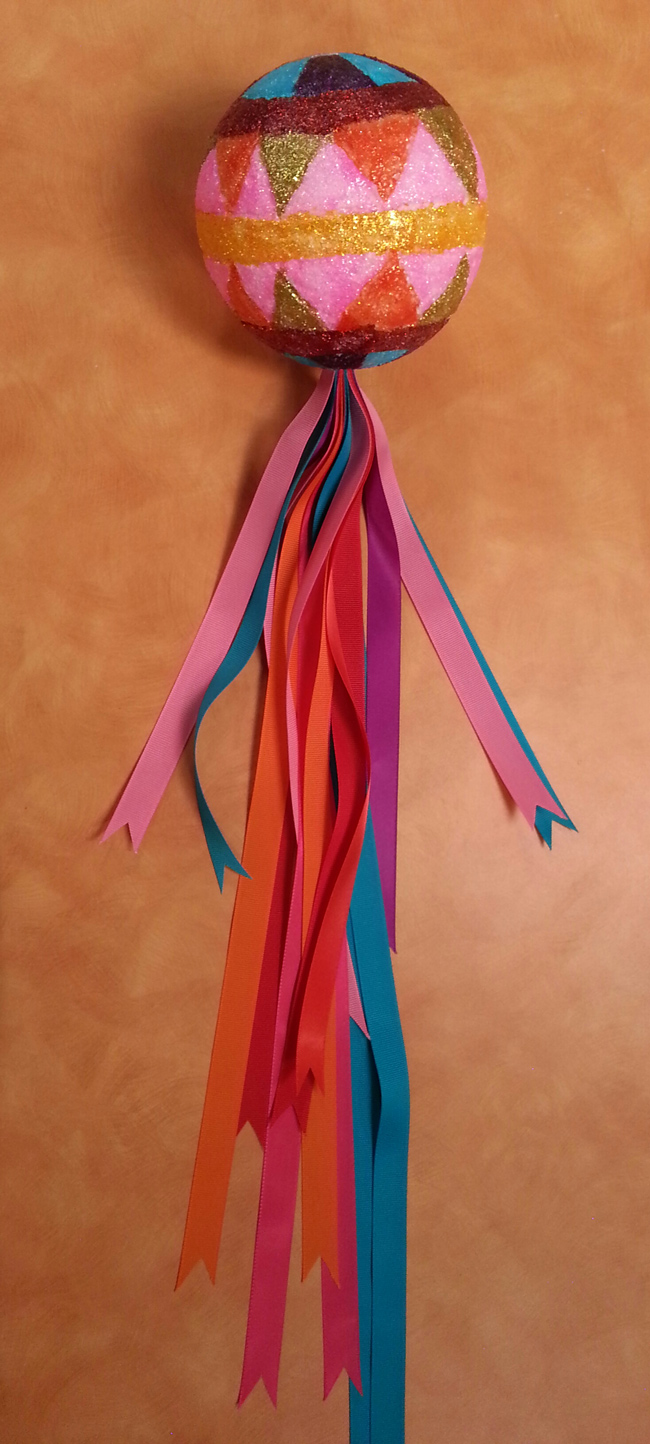
GLITTERED RIBBON BALL Designed by: Cheryl Ball Watch the video for this project online at:
|
 |
Always cover your work surface with a mat or some type of protective covering like wax paper or plastic.
Age Range: 7 to 12
Grade Range: 2 to 6
Skill Level: Moderate
Appropriate for These Special Events:
Every Day and Rainy Days
Supports Subject Area(s) of:
Social Studies
Language Arts – e.g. step by step instructions
Mathematics - measuring
Visual Arts
Time needed for project:
2 to 3 hours. Allow adequate drying time.
Main Materials:
FloraCraft®StyroFoam™ Ball – 5”
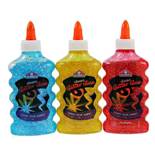
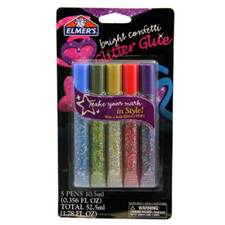
Elmer’s® Classic Glitter Glue or Elmer’s® Bright Confetti Washable Paint Pens
Elmer’s® Glue All
Basic Materials:
Round clothespin
Ribbon – ½” assorted colors – 1 yard each of 6 – 7 colors
Scissors
Pencil
Bamboo skewers
Drinking glass
Bulldog clip
Paper towel
Rubberband
Instructions:
- Use a pencil to draw design on ball. Draw a line just past center around ball then add another line about one 1” away from first. Add another line about 1 ½” on either side. Draw diagonal lines creating triangles within lines. Draw another line about ½” from triangles. Draw a circle in the center of areas then lines radiating from circle dividing the area referring to photo for reference.
- To create hole at end for ribbon, insert round clothespin about ½” into ball and twist.
- Start flow of Orange Glitter paint on paper towel. Working in short sections at a time, add thick even lines along pencil line then squeeze a thick puddle in center area. Use tip of tub to smooth paint within area. Use same technique to fill in the following areas: Triangles -alternating glitter gold and red opalescent glitter: Thin line, red glitter: Wedges at end – alternating purple and turquoise: Dot at end, silver glitter. Tip: work in sections placing on glass to hold till sections are dry.
- Let thoroughly dry then add more paint as needed for an even look.
- Cut ribbons into lengths. Cut two pieces of each ribbon. Start with 10”, 12”, 14” working to about 24” using the same color twice if needed to about 14 ribbons total.
- Line up one edge of each ribbon then add bulldog clip about 2” down from edge to hold in place. Glue all ends together pressing together to secure, keeping clip on till dry.
- Place ribbons on work surface and fan out. Use scissors to cut a “V” at end of each ribbon.
- Apply glue to glued end of ribbon and insert into hole.
Our Partners:
|

E-mail questions about Hands On Crafts for Kids to info@craftsforkids.com |