|
Hands on Crafts For Kids is the resource for kids craft projects and instructions for kids 6-12 and parents, teachers and other group leaders. It includes school and curriculum based projects, multi cultural projects, and every day, holiday and seasonal ideas. |
| 1606-2 | Print | Close [X] |
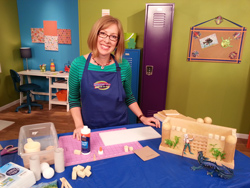
Rainy Day Castle by Katie Hacker
|
 |
![]() When you see the “helping hand” symbol on a project, it means you may need adult supervision to do the project.
When you see the “helping hand” symbol on a project, it means you may need adult supervision to do the project.
Always cover your work surface with a mat or some type of protective covering like wax paper or plastic.
Age Range: 7 to 12
Grade Range: 2 to 6
Skill Level: Moderate
Appropriate for These Special Events:
Every Day and Rainy Days
Supports Subject Area(s) of:
Social Studies
Language Arts – e.g. step by step instructions
Mathematics - measuring
Visual Arts
Time needed for project:
2 hours + drying time
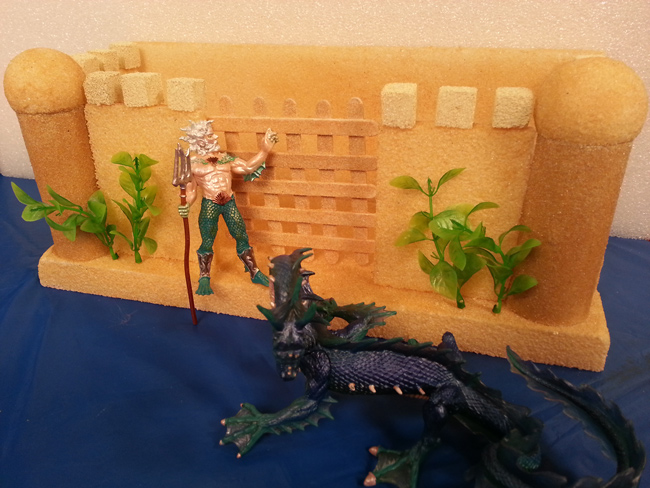
Can't go to the beach? Build and decorate a sandcastle that's perfect for pretend play.
Main Materials:
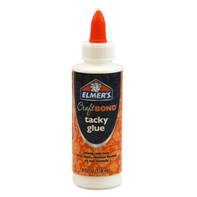
Elmer's® Tacky Glue
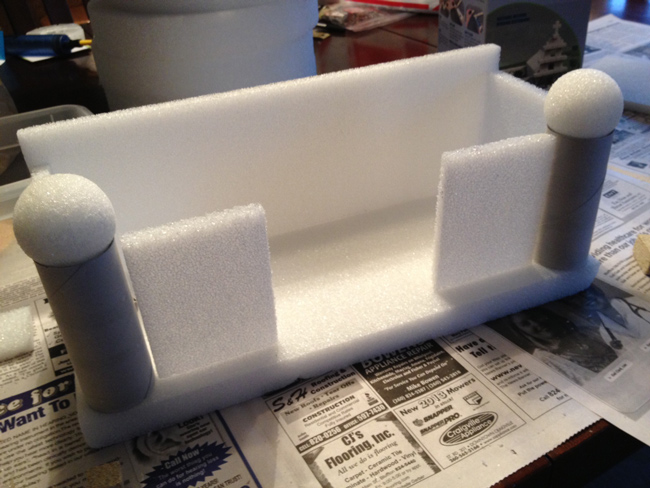
Floracraft® foam pieces: 6x15x1”, two 6x15x1/2”, two 6x7-1/2x1/2”
2 - FloraCraft® 2” foam balls
7 - FloraCraft® sand-color project bricks
Activa® sand
Basic Materials:
11 - craft sticks (10 for the gate and one to spread glue)
2 - toilet paper tubes
8-10 toothpicks
Butter knife or pumpkin carving tool
Ruler
Cutting mat
Aquarium plants and/or sea creatures
Small storage bin and measuring cup for sand
Optional: Action figures
Instructions:
- Set the 1” base and one of the 1/2” pieces of foam aside.
- Use a cutting mat, ruler and knife to cut the thin pieces of foam into two front walls that are 3-1/4x4-1/8” and two side walls that are 4-1/4x4-1/8”.
- Cut a project brick in half. Repeat for all of the project bricks.
- Glue a foam ball to the top of a toilet paper tube. Repeat to make a matching tower. Let the glue dry.
- Use the gridlines on the cutting mat to arrange the craft sticks evenly spaced with five horizontal and five vertical to create the gate. Glue the sticks together and let the gate dry.
- Use a craft stick to spread glue in a thin layer over the outside surfaces of a piece of the castle.
- Hold the piece of the castle over the bin and sprinkle sand onto it. Shake off any excess. Let this piece dry, then add glue/sand to the other side.
- Repeat Steps 5-6 for the walls, base, towers and gate. (Keep in mind that you don't need to put sand on the bottom of the castle or the bottom of the walls.)
- To assemble the castle: break the toothpicks in half. Place two halves in the bottom of the side wall, add glue to the bottom of the wall, and press the wall onto the base, making sure the back of the wall is flush with the back edge of the base.
- Press the tower into the corner of the base to make an indentation, then glue it into place.
- Use toothpicks and glue to attach the front walls and the back wall.
- Lean the gate against the front of the castle or press it into the base.
- Press and glue aquarium plants into the base in front of the castle, if you want to add greenery.
Sources:
FloraCraft® Styrofoam™ diorama kit, project bricks and balls
Our Partners:
|

E-mail questions about Hands On Crafts for Kids to info@craftsforkids.com |