|
Hands on Crafts For Kids is the resource for kids craft projects and instructions for kids 6-12 and parents, teachers and other group leaders. It includes school and curriculum based projects, multi cultural projects, and every day, holiday and seasonal ideas. |
| 1607-4 | Print | Close [X] |
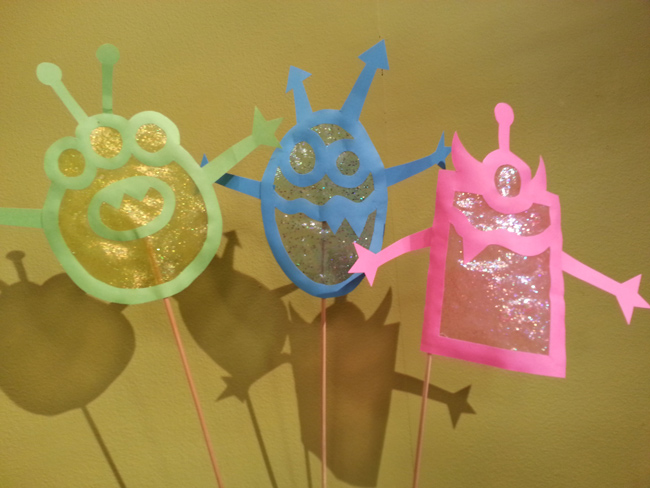
MONSTER SHADOW PUPPETS Watch the video for this project online at:
|
 |
Always cover your work surface with a mat or some type of protective
covering like wax paper or plastic.
Age Range: 7 to 12
Grade Range: 2 to 6
Skill Level: Moderate
Appropriate for These Special Events:
Every Day and Rainy Days
Supports Subject Area(s) of:
Language Arts – e.g. step by step instructions
Visual Arts
Time needed for project:
2 hours – allow for drying time
Main Materials:
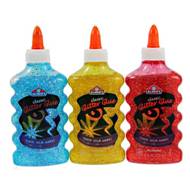
Elmer’s® Classic Glitter Glue
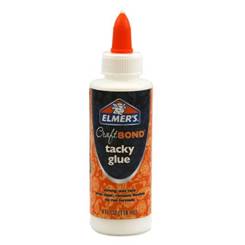
Elmer’s® Craft Bond Tacky Glue
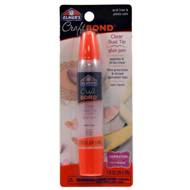
Elmer’s® CraftBond Clear Dual Tip Glue
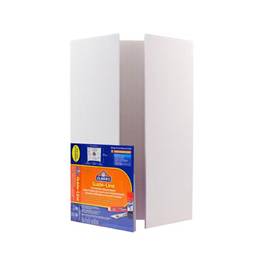
Elmer’s® Tri-fold Display Board – 18” x 22”
Right click the links below and choose "Save As" to download patterns for this project:
Monster Puppets 1
Monster Puppets 2
Basic Materials:
Cardstock paper – neon green, blue and pink, gray (3), light blue 12” square (2), medium, dark blue, yellow
Freezer paper
Cookie sheet or craft mat
Craft stick
Pencil
Scissors
Bamboo skewers
Transparent tape
Paint brush
Instructions:
- Cover back of cookie sheet with freezer paper, shiny side up taping in place.
- Remove lid from one of the glitter glues then squeeze a puddle on paper. Use side of craft stick to smooth glue into an even layer. Repeat step with remaining colors. Let dry. This may take overnight. The glue will lift easily from paper when thoroughly dry.
- Cut out monster patterns then trace and cut out from neon cardstock. Apply glue to one side of monster shape then press onto glue sheet pressing to secure. Let dry. To prevent curling, place shiny side of freezer paper over monster then place book and something heavy over top – this will let the paper dry flat if needed.
- Glue skewers in place along one side or down center on back of each monster. Let dry.
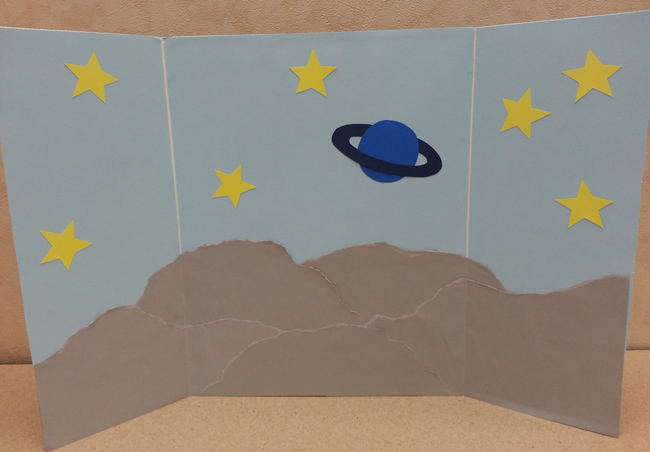
- Trace and cut stars and planet from cardstock in colors shown.
- Trim light blue paper to cover back and sides. Use wide tip of No-Wrinkle glue to apply glue to back of papers, press in place then smooth flat. Tear gray paper into pieces, slightly curl torn edges. Glue in place overlapping as shown. Add stars and planet.
Our Partners:
|

E-mail questions about Hands On Crafts for Kids to info@craftsforkids.com |