|
Hands on Crafts For Kids is the resource for kids craft projects and instructions for kids 6-12 and parents, teachers and other group leaders. It includes school and curriculum based projects, multi cultural projects, and every day, holiday and seasonal ideas. |
| 1612-3 | Print | Close [X] |
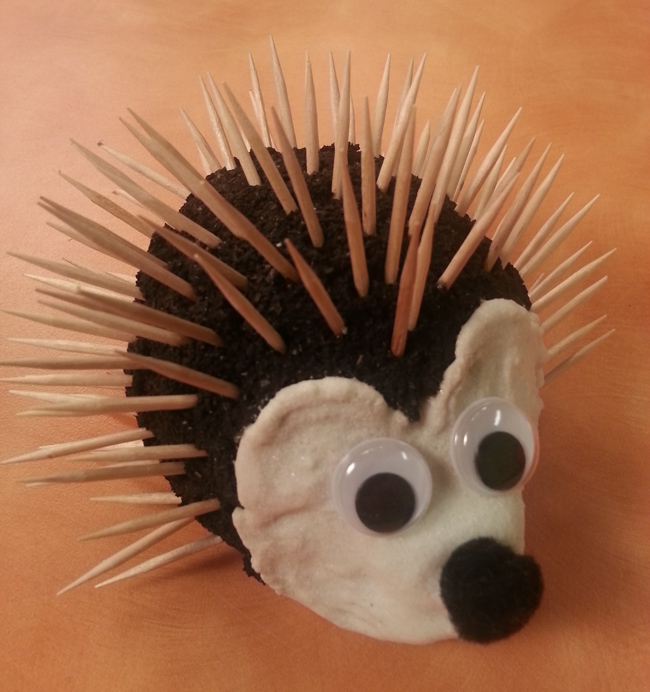
HEDGEHOG |
 |
Always cover your work surface with a mat or some type of protective covering like wax paper or plastic.
Age Range: 7 to 12
Grade Range: 2 to 6
Skill Level: Moderate
Appropriate for These Special Events:
Every Day and Rainy Days
Supports Subject Area(s) of:
Language Arts – e.g. step by step instructions
Time needed for project:
1 hour – allow adequate drying time
Main Materials:
FloraCraft® Styrofoam™ Egg – 4”
FloraCraft® Styrofoam™ Disc – 4”
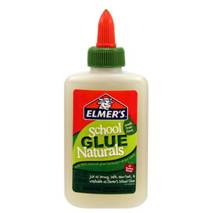
Elmer’s® School Glue Naturals®
Acviva® Sand
Basic Materials:
Coffee grounds
White sand
Toothpicks – round
Scissors
Craft snips
Wiggly eyes- ½” (2)
Pom-pom – ½” black
Craft sticks
Plastic tubs
Serrated knife
Pencil
Instructions:
- Use serrated knife to cut about ¼” from length of egg – this will allow it to sit flat.
- To form face, use knife to cut off about ½” from each side at pointed end of egg then cut a curved line to tip creating swoop for nose. Refer to photo for reference.
- Use craft snips to cut lots of toothpicks in half.
- To create face, use pencil to draw a heart shaped area on front third of egg as shown.
- Pour about a cup of coffee grounds into tub then add about a third of a bottle of the Clear School Glue. Use craft stick to thoroughly mix together adding more glue or coffee as needed.
- Insert two craft sticks into bottom of egg – this will make it easier to hold and keep from twisting. Squeeze thin lines of Clear Glue on half of body and spread with craft stick – this will allow the coffee to adhere better to the foam. Use craft stick to “frost” glue area with thin layer of coffee mixture spreading evenly. Repeat step with remainder of body.
- Immediately poke in toothpick halves starting at front and working to back. Press craft sticks into foam disc to hold till dry.
- Add about ½” cup of white sand to clean tub, pour in glue and stir till thoroughly mixed. Add glue to face area then cover with sand mixture, working right up to coffee line. Set aside to dry.
- Use glue to adhere eyes and pom-pom nose where shown.
Our Partners:
|

E-mail questions about Hands On Crafts for Kids to info@craftsforkids.com |