www.craftsforkids.com

Hands on Crafts For Kids is the resource for kids craft projects and instructions for kids 6-12 and parents, teachers and other group leaders. It includes school and curriculum based projects,  multi cultural projects, and every day, holiday and seasonal ideas.

It is  the online home of the public television program Hands On Crafts for Kids.

1704-1 Print | Close [X]

Ice Cream Catch Game


Always cover your work surface with a mat or some type of protective covering like wax paper or plastic.
                                                    

Age Range: 7 to 12

Grade Range: 2 to 6

Skill Level: Moderate

Appropriate for:
Parties, Every Day and Rainy Day Activities

Supports Subject Area(s) of:
Language Arts – e.g. step by step instructions
Mathematics - measuring
Visual Arts

Time needed for project;
1 hour, plus drying time for paint and glue


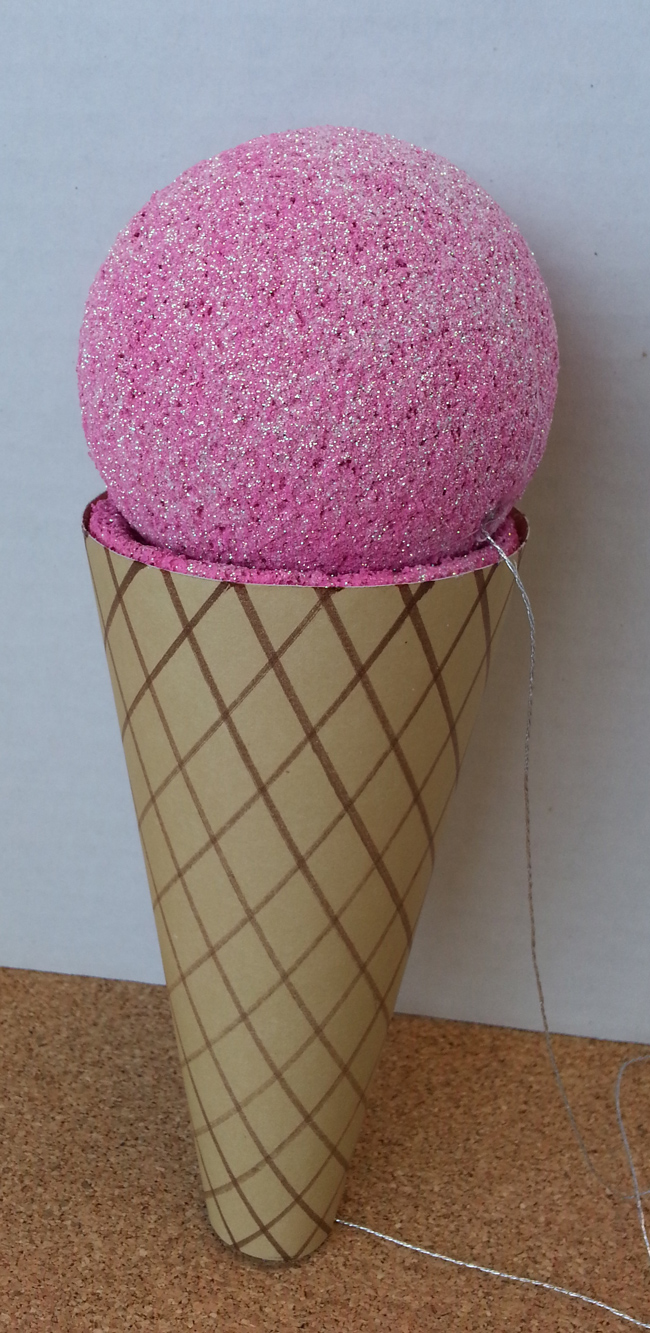
ice cream catch game
Designed by:  Dondi Richardson

Supplies:
FloraCraft® Foam:
Cone: 6”x3”
Ball: 3”
Other Materials:
Acrylic Paint: Any Color (Hot Pink was used)
Fine Glitter: Opalescent
Scrapbook or Construction Paper: Tan
Brown Marker
Thin String
Straight Pins
Toothpicks
Tools:
Elmer’s® Glue-All®
Metal Teaspoon
Paint Brush
Pencil
Ruler

Pattern (right click here and choose "Save As" to download to your system)


DIRECTIONS:

  1. Use the cone as a guide to create the paper wrap for the ice cream cone.  Lay the wide end of the cone at the top corner of the paper.  Slowly roll the cone across the paper following the curved path of the top of the cone with a pencil.  Repeat this, tracing the path of the bottom of the cone.  See attached cone template.  Cut out the paper cone wrap and set aside for later.
  2. Use the spoon to carefully scoop out a shallow bowl in the wide end of the cone.  Scoop out a little at a time.  Be careful not to get to close to the edge of the cone; try to stay at least 1/8” away from the edge.  The 3” ball should set nicely inside the top of the cone when finished.  Use the spoon to press and smooth out any uneven areas.
  3. Place a toothpick into the ball to use as a handle while you paint.  Paint the ball pink and while the paint is still wet sprinkle with glitter.  The paint will act as the glue and secure the glitter in place as it dries.  Paint the scooped out end of the cone pink.  Paint about a ½” rim around the outside edge of the wide end of the cone.  Sprinkle cone with glitter while wet.  Let dry.
  4. Draw parallel lines about ½” apart from each straight edge of the cone wrap.  This will create the crisscross lines for the ice cream cone.  Glue the paper wrap in place on the cone.
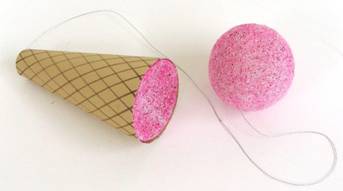
  5. Cut a length of string about 24” to 28” long.  Tie each end onto a straight pin.  Put a small spot of glue on the end of one pin and insert it into the bottom of the cone.   Add a spot of glue to the other pin and insert it into the ball.  Put a spot of glue over the end of each pin to secure in place. 

Skill Level: Beginner


Our Partners:


www.elmers.com
www.makeitfuncrafts.com