www.craftsforkids.com

Hands on Crafts For Kids is the resource for kids craft projects and instructions for kids 6-12 and parents, teachers and other group leaders. It includes school and curriculum based projects,  multi cultural projects, and every day, holiday and seasonal ideas.

It is  the online home of the public television program Hands On Crafts for Kids.

1707-1 Print | Close [X]

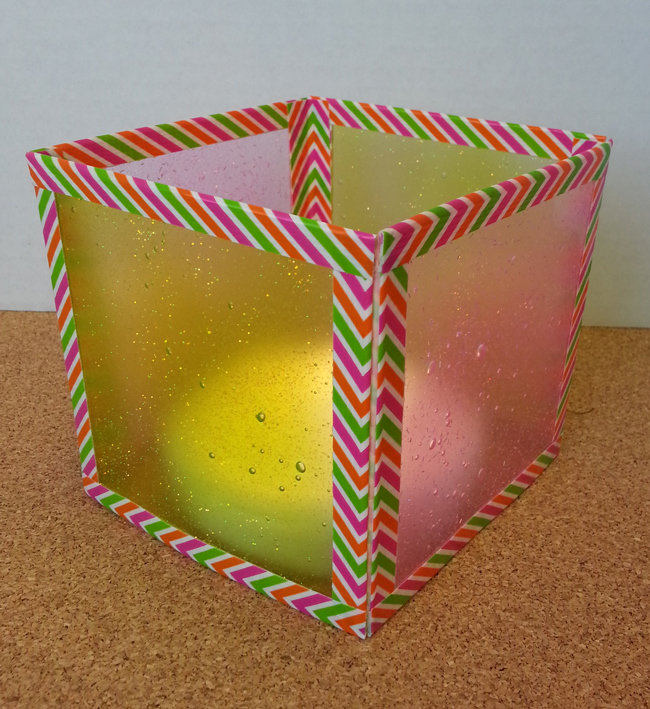
Glittering Night Light

Watch the video for this project online at:
http://youtu.be/bPCpP3j-Lao

Always cover your work surface with a mat or some type of protective covering like wax paper or plastic.

Age Range: 7 to 12

Grade Range: 2 to 6

Skill Level: Moderate

Appropriate for:
Gifts, Party Decorations, Every Day and Rainy Day Activities

Supports Subject Area(s) of:
Language Arts – e.g. step by step instructions
Mathematics - measuring
Visual Arts

Time needed for project:
1 hour


GLITTERING NIGHT LIGHT

by: Cheryl Ball

Materials Needed:
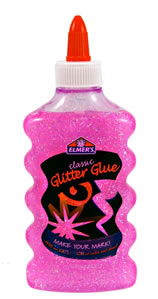
Elmer’s® Classic Glitter Glue – Pink, Green or desired colors


Thermal Laminating Pouches – 4”x6”
Duct tape – 1” wide
Scissors
Ruler
Permanent marker
Battery operated tap light

Directions:

  1.  Remove a pouch and place folded end to left.  Use ruler and pen to mark two lines 4” from folded end then cut along dots. Repeat step with three other sheets.
  2. Cut 4 pieces of duct tape about 5 “long.  Place tape sticky side up and place fingers along left edge to hold in place.  Press folder onto tape lining edge down center then press into place.  Fold over remaining tape covering end pressing to secure.  Repeat step with other end.
  3. Use scissors to cut off excess tape at sides. 
  4. Add strip of tape to one of the remaining sides.  Trim ends.
  5. Remove lid from bottle of Glitter Glue.  Press on sides of pouch to create opening.  Squeeze about a tablespoon of glue into pouch.  Place on work surface then carefully smooth glue to sides and to about ½” from open end.  Tape side closed. 
  6. Repeat steps creating three more pouches using other colored glue for two of them.
  7. Place sections in a row, lining up top and bottom edges.  Measure and cut four sections of tape to fit along these edges.
  8. Place edge of first section down middle of tape pressing to secure then place edge of next section on remainder to tape lining up edges.  Press to secure.  Repeat with remaining sections.
  9. For last section apply tape to end then stand up sections forming a square.  Press front end into tape closing the square.
  10. Place battery operated light inside.


Our Partners:


www.elmers.com