www.craftsforkids.com

Hands on Crafts For Kids is the resource for kids craft projects and instructions for kids 6-12 and parents, teachers and other group leaders. It includes school and curriculum based projects,  multi cultural projects, and every day, holiday and seasonal ideas.

It is  the online home of the public television program Hands On Crafts for Kids.

1707-4 Print | Close [X]

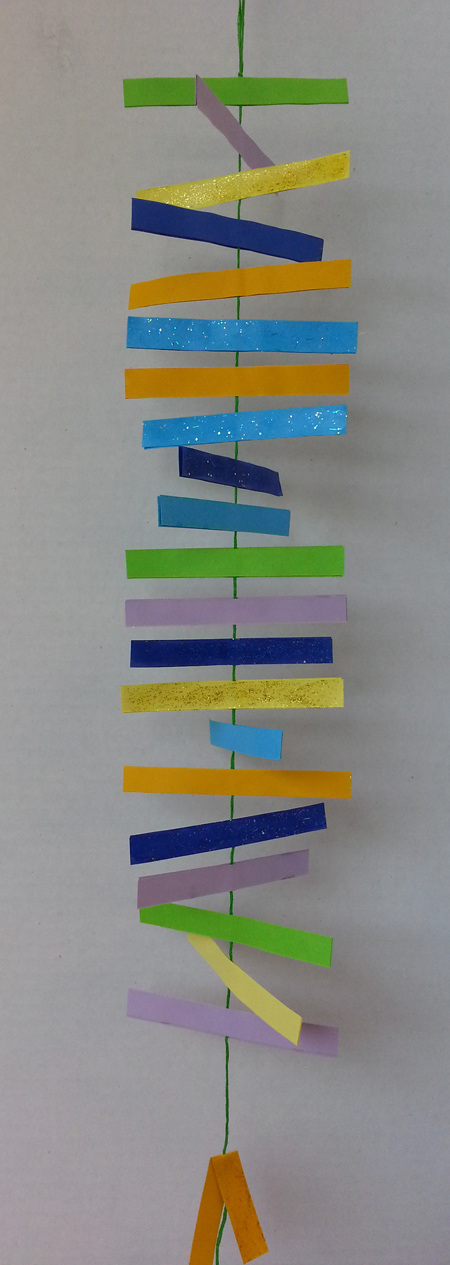
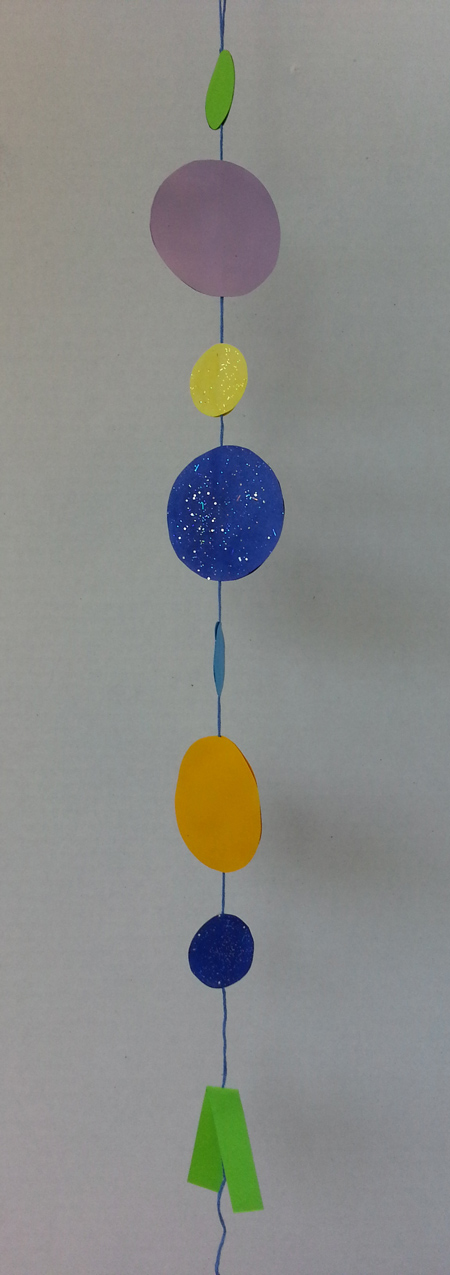
Colorful Paper Garland


Age Range: 7 to 12

Grade Range: 2 to 6

Skill Level: Easy

Appropriate for:
Every Day and Rainy Days Activites,  Parties

Supports Subject Area(s) of:
Language Arts – e.g. step by step instructions
Mathematics - measuring
Visual Arts

Time needed for project:
1 hour plus drying time for glue


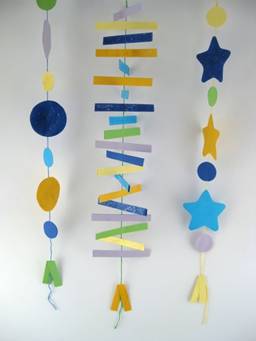
Colorful Paper Garland
by Katie Hacker

Materials:
Card stock in assorted colors
Embroidery floss or other string
Adhesive tape
Elmer’s® Classic Glitter Glue
Elmer’s® School Glue
Scissors
Paintbrush for glitter glue
Pencil
Shape templates: cookie cutter shapes, bottles or cups to trace
Craft mat & ruler
Optional: paper punches, paper trimmer

Directions:

  1. For the rectangles: Use scissors or the paper trimmer to cut a piece of paper in half length-wise. Now, it into half-inch strips. Or, measure with a ruler, mark with pencil and cut with scissors. For the circles: Use two sizes of circle punches or use a pencil to trace around two different sizes of cylinders to make circles and cut them out. For the stars: Use a pencil to trace around a cookie cutter and cut it out. Repeat for as many of each shape as desired.
  2. Tie an overhand knot to make a loop at the top of a string. Tape the loop to the craft mat.
  3. Fold a paper strip in half and use scissors to cut a small slit in the fold. Poke the string through the slit and tie it in a knot inside the fold. Glue the fold together.
  4. Pull the string tight and tape it down at the desired length of the garland.
  5. Center a row of paper shapes under the string, then glue the matching shape on top. Let it dry. (You might need to weigh it down to keep the shapes flat – a second craft mat works well for this or you could use a cookie sheet or books, etc.)
  6.  Use a paintbrush to spread a thin layer of glitter glue over the surface of some of the shapes. Let the glitter glue dry.

For more information visit:
www.katiehacker.com


Our Partners:


www.elmers.com