Age Range: 7 to 12
Grade Range: 2 to 6
Skill Level: Moderate
Appropriate for:
Make Believe, Every Day and Rainy Day activities
Supports Subject Area(s) of:
Social Studies
Language Arts – e.g. step by step instructions
Mathematics - measuring
Visual Arts
Time needed for project:
1 hour, plus drying time for glue
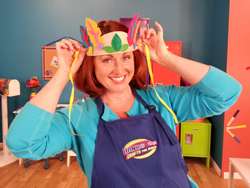
Woodland Crown
By Jodie Rackley
Materials Needed:
Various colors of Classicfelt™ from The Kunin™ Group
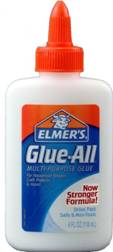
Elmer’s® Glue-All®
Ribbon
Scissors
Paper for templates
Embroidery floss
Sewing needle
Optional: real leaves and flowers
Pattern: (right click here and choose "Save As" to download the pattern to your system)
Directions:
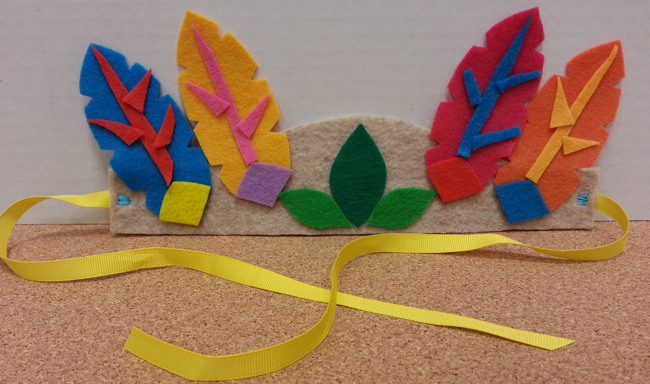
- Print and cut out your templates. Pin your templates directly to your felt and cut around the edge or draw around the edge of your templates and cut them out. Cut 2 crown pieces, 4 feather pieces, 4 feather diamonds, 2 small leaves, and 1 large leaf.
- Once you have all of your pieces cut out, begin assembling your feathers. Line up a contrasting diamond shape on the bottom of your feather to accent it and then glue it in place with craft glue. Repeat this step for all 4 feathers using a contrasting color felt. Pick another color of feather and freehand cut a center stripe for your feather and a few other small triangle shapes to add more detail, glue those in place as well.
- Take your 2 crown shapes and place glue on the back of one side of your crown and glue them together by laying one on top of the other – press firmly in place. Once it is dry, add a thick piece of ribbon to each side of your crown, using a piece of embroidery floss or sewing thread and a sewing needle to stitch the end in place.
- Now add your feathers to your crown, being by centering the large leaf in the middle front of your crown and gluing it in place, then add your two smaller leaves on each side of your big leaf and also glue those in place.
- Now begin adding your feathers by lining them up on each side of your crown, glue them down adding glue to just the bottom end of your feather.
- Press all of the shapes firmly in place and allow to air dry overnight.
For more information visit:
lovarevolutionary.blogspot.com |