www.craftsforkids.com

Hands on Crafts For Kids is the resource for kids craft projects and instructions for kids 6-12 and parents, teachers and other group leaders. It includes school and curriculum based projects,  multi cultural projects, and every day, holiday and seasonal ideas.

It is  the online home of the public television program Hands On Crafts for Kids.

1709-4 Print | Close [X]

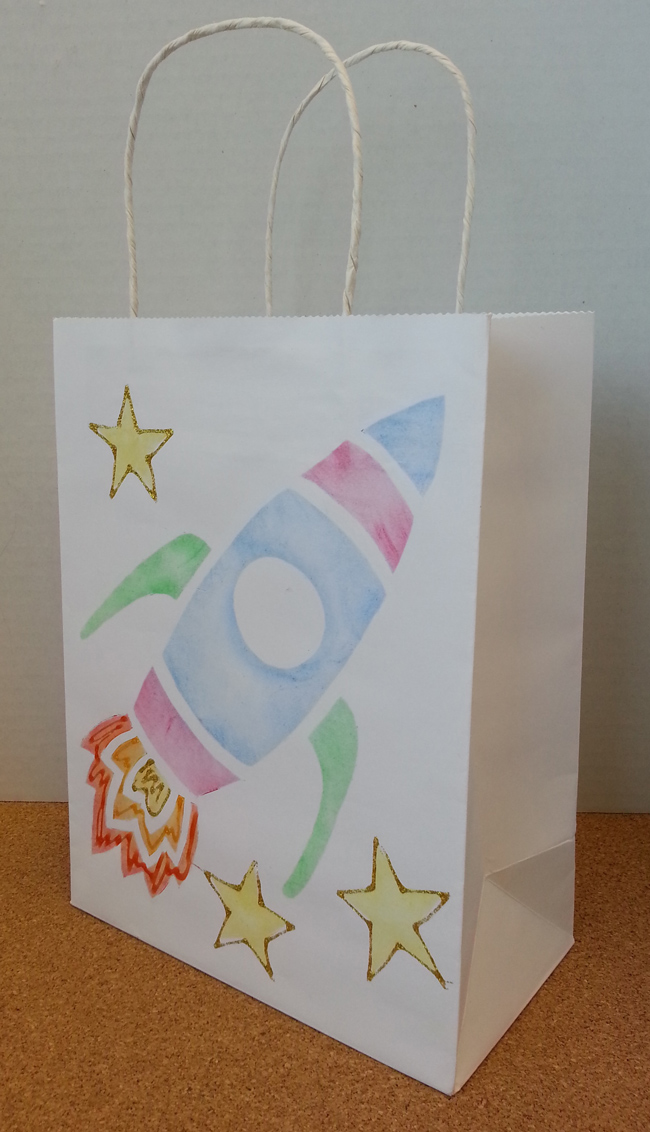
Rocket Ship Gift Bag


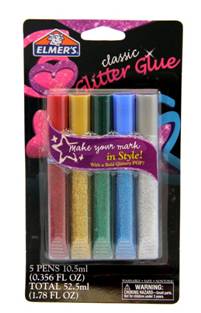
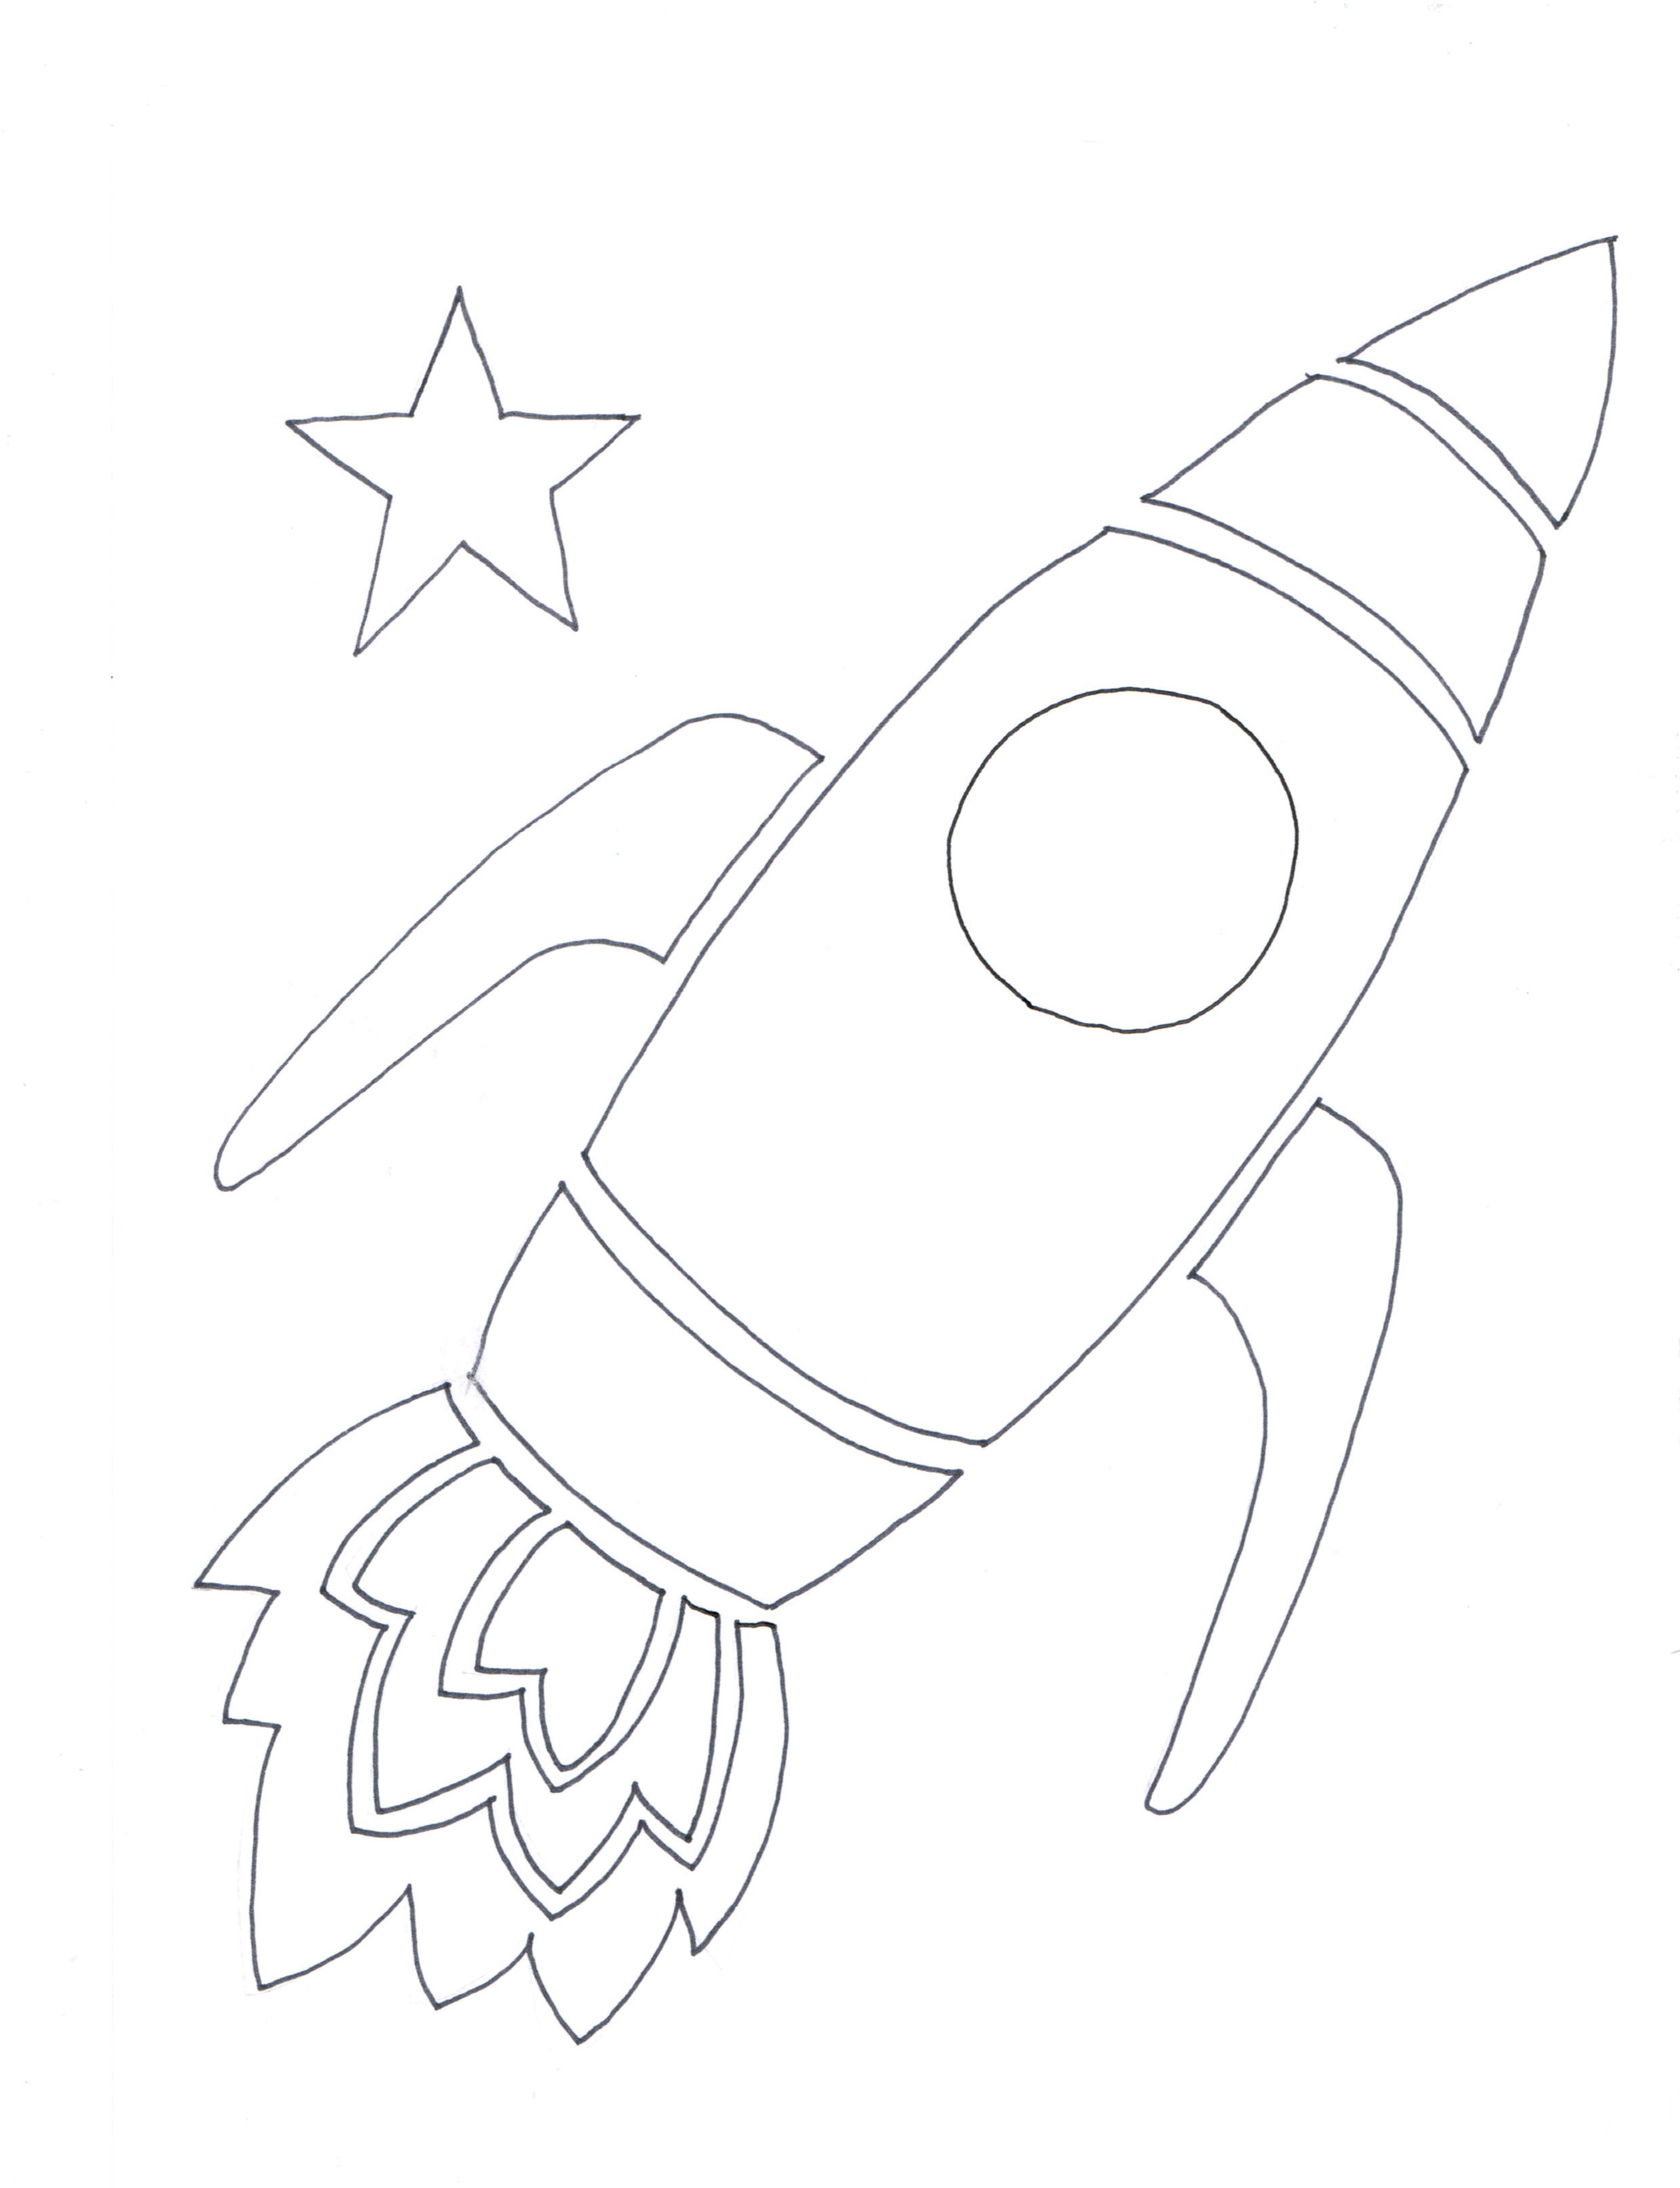
Always cover your work surface with a mat or some type of protective covering like wax paper or plastic.
                                                    
Age Range: 6 to 12

Grade Range: 2 to 6

Skill Level: Moderate

Appropriate for:
Birthdays, Every Day and Rainy Day Activities

Supports Subject Area(s) of:
Social Studies
Language Arts – e.g. step by step instructions
Visual Arts

Time needed for project:
1 hour, plus drying time for glue


ROCKETSHIP GIFT BAG

by Cheryl Ball

Materials Needed:
Cray-Pas® Junior Artist Oil Pastels
Elmer’s® Classic Glitter Glue Pens
White craft paper bag
Cardboard -cut to fit inside
Paper towels
Self adhesive shelf paper
Permanent felt pen
Scissors

Pattern: (right click here and choose "Save As" to download to your system)

Instructions:

  1. Cut a piece of shelf paper slightly larger than bag.  Place over pattern then trace with felt pen.
  2. To create stencil, carefully cut out center of each design element leaving the outside edges intact.  Be sure to cut out center circle too.
  3. Insert cardboard into bag.  Remove paper backing from stencil then carefully press into place on bag smoothing down.  Run a finger along inside edges.  Add circle to center where shown.
  4. Pull off several layers of paper towels then cut into fourths. 
  5. Use the following technique to fill in design.  Draw a line of Oil Pastel in desired color around a section. Crumple up a section of paper towel then use a swirling motion to work color into section.  More oil pastel can be added as needed.  Colors can be blended too. Use a clean paper towels for each color change.  Referring to photo for reference, fill in all sections with color.  Carefully remove stencil.  It can re re-used several times if needed.
  6. Remove lid from Gold Glitter Glue tube.  Start flow on paper towel then outline stars using an even pressure on tube for a smooth line.  Use Red, Gold and Orange Glitter Glue to outline flames. Let dry.

Our Partners:


www.elmers.com
www.sakuraofamerica.com