|
Hands on Crafts For Kids is the resource for kids craft projects and instructions for kids 6-12 and parents, teachers and other group leaders. It includes school and curriculum based projects, multi cultural projects, and every day, holiday and seasonal ideas. |
| 1711-3 | Print | Close [X] |
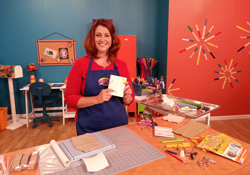
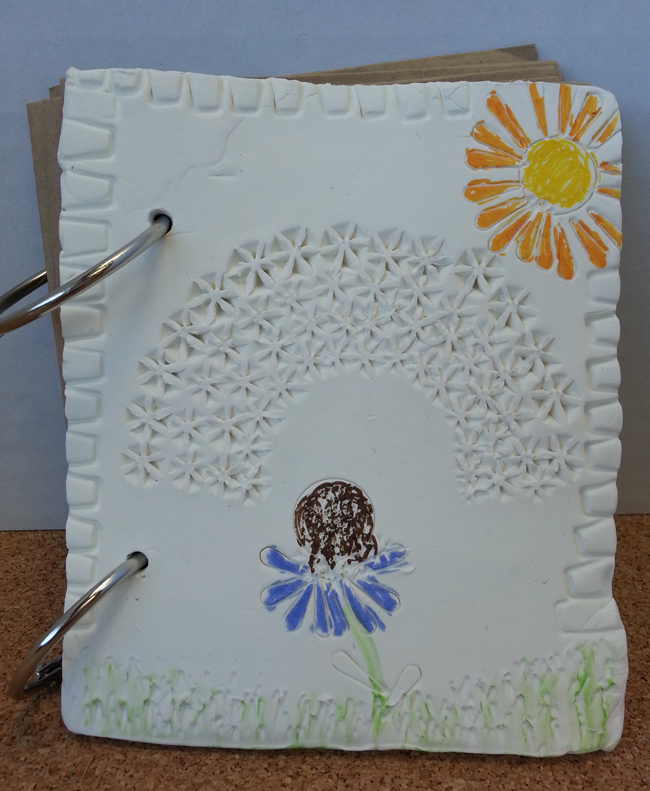
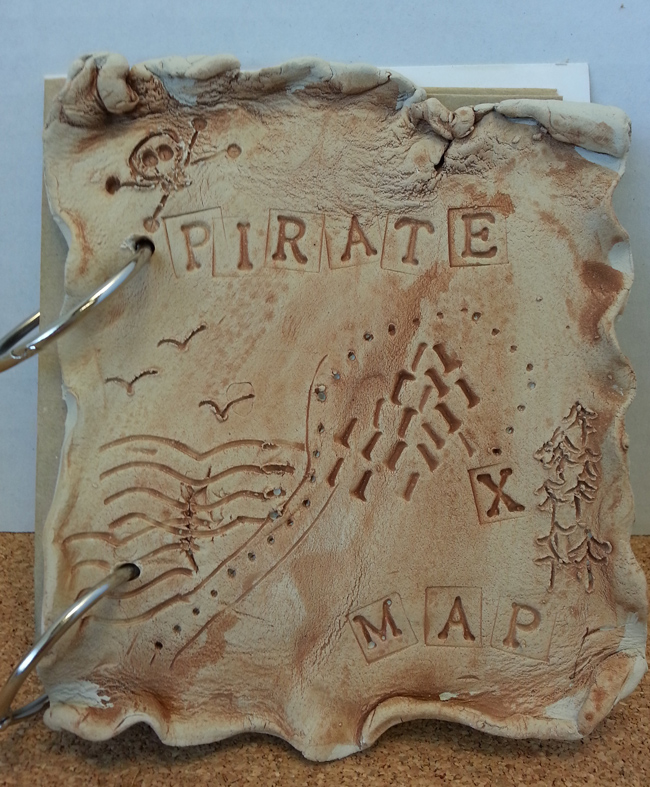
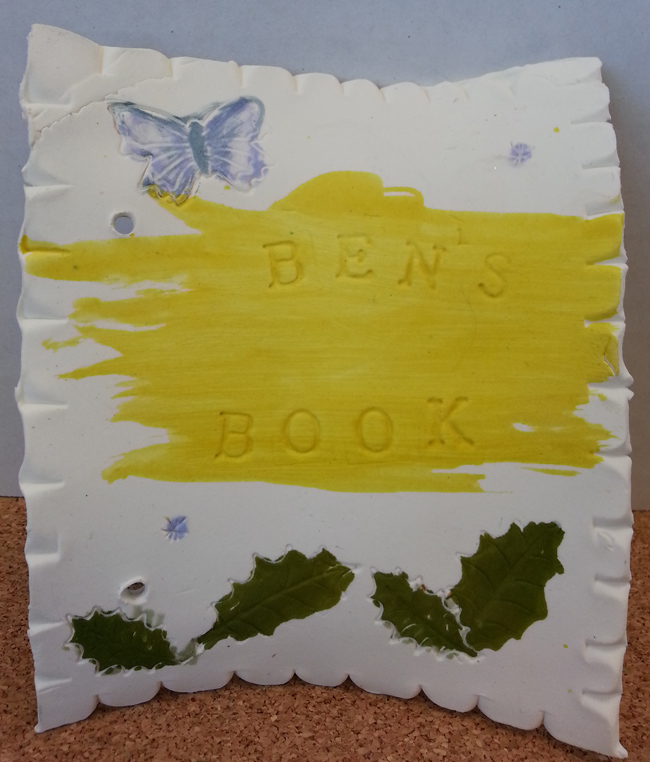
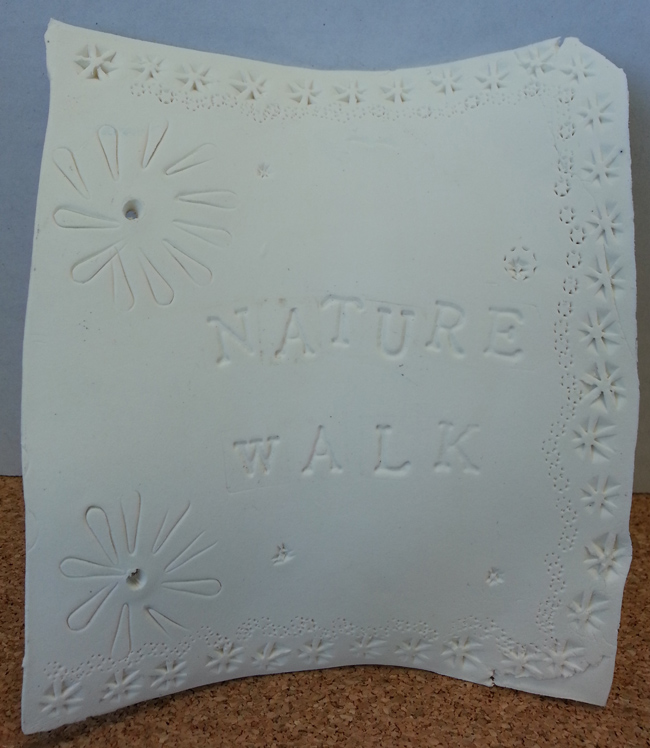
Paper Bag Nature Journal |
 |
Always cover your work surface with a mat or some type of protective covering like wax paper or plastic. Age Range: 7 to 12 Grade Range: 2 to 6 Skill Level: Advanced Appropriate for: Supports Subject Area(s) of: Time needed for project: Paper Bag Nature Journal Materials Needed:
Directions: Step 1: Make the pages from the bags by laying the bag flat cut along bottom edge, removing the bottom of the bag. Fold the bag in half lengthwise, making 2 “pocket” pages. Decide where you want the holes for the rings to be and mark ½ inch from the folded edge. Punch 1 set out, then use that as a template for the rest. Step 2: Lay the pages on top of your cardboard, and trace ¼ inch larger all the way around. Cut out with scissors. Line up your paper bag leaves on top of the cardboard. Using your paper bag pages for templates, mark and punch holes in the cardboard. Step 3: Roll out your air-dry clay ⅜ of an inch thick with the roller. Using the cardboard as a template, trace around with the toothpick and mark the holes. Cut through the clay with a plastic knife and make the holes with a straw. Step 4: Decorate the front of the paper-clay cover using alphabet stamps, texture tools, straws, toothpicks- whatever you can find to customize your Nature Journal! LET DRY COMPLETELY- USUALLY 24 HOURS. Add extra paint on your journal if you like when it’s dry! Step 5: Assemble your journal using the library rings- front cover, pages, cardboard in the back. Now go for a walk and collect some treasures to put in your books! For more information visit: |
Our Partners: |
E-mail questions about Hands On Crafts for Kids to info@craftsforkids.com |