www.craftsforkids.com

Hands on Crafts For Kids is the resource for kids craft projects and instructions for kids 6-12 and parents, teachers and other group leaders. It includes school and curriculum based projects,  multi cultural projects, and every day, holiday and seasonal ideas.

It is  the online home of the public television program Hands On Crafts for Kids.

1801-1 Print | Close [X]
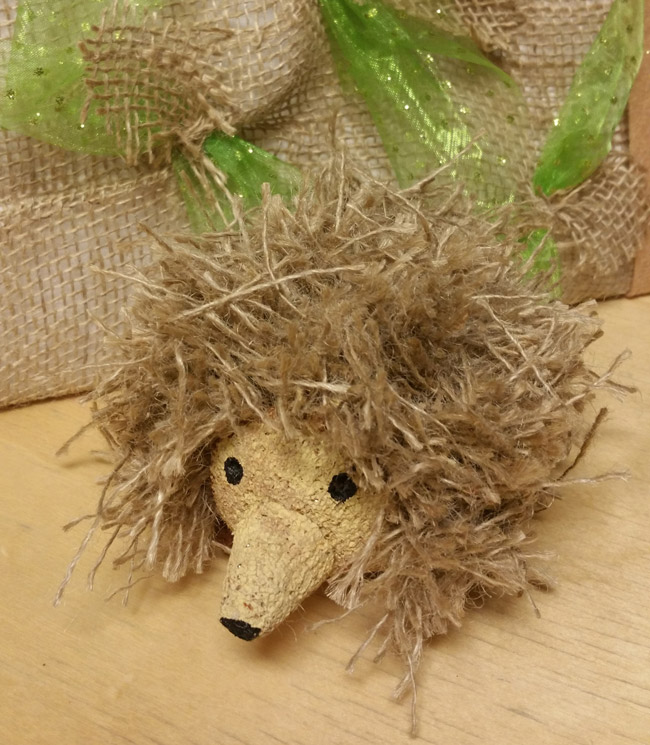
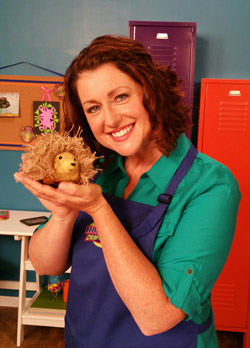
Burlap Hedgehog

Watch the video for this project online at:  https://youtu.be/hEkOQwCbLcE


Hosts:
Katie Hacker & Jenny Barnett Rohrs

Always cover your work surface with a mat or some type of protective covering like wax paper or plastic.
                                                    
Always use care when using tools or a heat source. Be careful and safe!


Age Range: 7 to 12

Grade Range: 2 to 6

Skill Level: Easy to Moderate

Appropriate for These Special Events:
Every Day and Rainy Days

Supports Subject Area(s) of:
Language Arts – e.g. step by step instructions
Mathematics - measuring
Visual Arts

Time needed for project:
2 hours plus drying time


Materials needed:

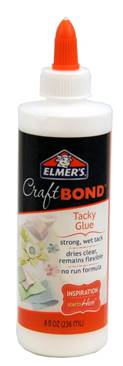
  1. Elmer’s® Craft Bond® Tacky Glue
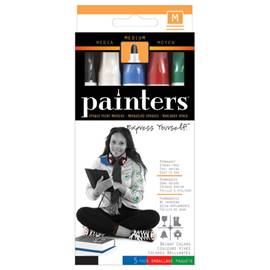
  2. Elmer’s® Painters® Opaque Paint Marker - black
  3. 4” FloraCraft® Styrofoam™ Brand ball
  4. Small FloraCraft® Styrofoam™ Brand cone
  5. FloraCraft® Design It:® SimpleStyle® Burlap Garland
  6. Toothpicks
  7. Plastic knife
  8. Brown paint
  9. Scissors
  10. Chopstick or knitting needle
  11. Paintbrush
  12. Small plates for glue and paint

Directions:

  1. Using plastic knife, cut Styrofoam ball in half. “Sand” one edge against the other to create a rounded tear-drop shape.

  2.  Using plastic knife, cut tip from cone 1 inch from pointed edge. This will be the snout. Using the plastic knife, cut a 1 inch slice from BOTTOM of the cone. Cut this into 4 sections. This will be the feet.

  3. Using tacky glue, attach snout and legs to body. Use toothpicks to help secure. Cut off excess with scissors. Let dry.

  4.  Using paintbrush, paint body with brown paint. Let dry.

  5.  Using scissors, cut burlap into 3 inch squares. Fold in half twice. Using    chopstick, poke a hole in the back of hedgehog body. Dip folded edge of  burlap in white glue and poke into the hold. Use chopstick to push it in. Repeat until entire back is covered. Let dry.

  6.  Using black paint marker, add eyes and tip of nose.


For more information visit www.CraftTestDummies.com
Our Partners:


www.elmers.com
www.makeitfuncrafts.com