www.craftsforkids.com

Hands on Crafts For Kids is the resource for kids craft projects and instructions for kids 6-12 and parents, teachers and other group leaders. It includes school and curriculum based projects,  multi cultural projects, and every day, holiday and seasonal ideas.

It is  the online home of the public television program Hands On Crafts for Kids.

1805-1 Print | Close [X]
Wings

Watch the video for this project online at: https://youtu.be/SQrOjsQFxUg


Hosts:
Katie Hacker & Jenny Barnett Rohrs


When you see the “helping hand” symbol on a project, it means you may need adult supervision to do the project.


Always cover your work surface with a mat or some type of protective covering like wax paper or plastic.
                                                    
Always use care when using tools or a heat source. Be careful and safe!


Age Range: 7 to 12

Grade Range: 2 to 6

Skill Level: Moderate

Appropriate for These Special Events:
Every Day and Rainy Days

Supports Subject Area(s) of:
Language Arts – e.g. step by step instructions
Mathematics - measuring
Visual Arts

Time needed for project:
1 to 1½ hours

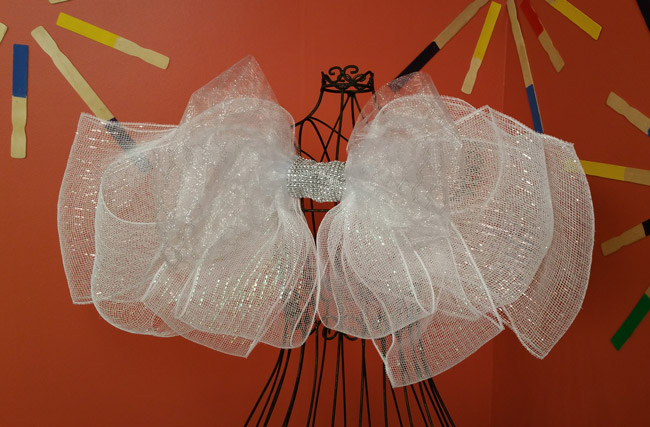
WINGS
Designed by Cheryl Ball

Materials needed:
FloraCraft® Design It® SimpleStyle® Decorative Mesh–10” and 6” wide, white
FloraCraft® Design It® SimpleStyle® Glittered Organza – Silver Lattice
FloraCraft® Design It® SimpleStyle® Diamond Wrap – Silver
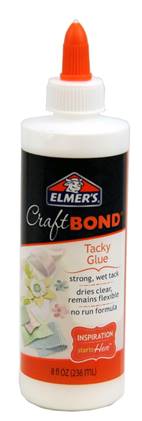
Elmer’s® CraftBond Tacky Glue
(White and silver is suggested but any colors may be used)

Basic Supplies:
Tape measure
Elastic – 1 yard, ½” wide- decorative
Scissors
Chenille stems (cut in half)
Wire cutters
Stapler


Directions:

  1. Measure and cut one 56” and one 50” length from 10” wide decorative mesh, then 44” and 36” from 6” wide mesh.  Be sure to cut evenly between strands for a straight edge.
  2. Place longest length of mesh on work surface.  Bend ends toward center and overlap about 4”.  Note: width of wings can be changed to create smaller ones by trimming ends at this time. Use stapler to carefully staple layers together adding one every 2” or so.  Repeat step with shorter length.
  3. Place shorter section on top of longer section.  Use fingers to carefully gather sections across centers holding tightly together.  Wrap 2 chenille stems around center about 4” apart, twisting tightly to hold.
  4. Repeat steps 2 and 3 with 6” sections of mesh.
  5. Cut two 30” lengths of Organza, then repeat steps above to create one section with two loops on each side. (Make sure sparkle side is facing out).
  6. Place organza bundle over combined mesh bundle and secure with chenille stem as before.
  7. Use wire cutters to trim chenille stems to about ½” then bend flush with mesh for a smooth surface.
  8. Use tape measure to determine length needed for elastic to fit around arms and across back. Cut elastic to this length adding 4” for overlap.  Overlap elastic 2” then add chenille stem to form two even loops for arms to go through.
  9. Cut an 8” length of Diamond Wrap.  Measure and cut width of mesh to fit width of center section cutting wide enough to cover all chenille stems.  Wrap around center then cut length to fit around center with a 1” overlap. Mesh is easily cut with scissors.
  10. Cover the back of the Diamond Wrap with glue.  Wrap around center of wings making sure overlapped seam is in the back where the elastic is.  Let dry.


Our Partners:


www.elmers.com
www.makeitfuncrafts.com