Age Range: 7 to 12
Grade Range: 2 to 6
Skill Level: Easy
Appropriate for These Special Events:
Every Day and Rainy Days
Supports Subject Area(s) of:
Language Arts – e.g. step by step instructions
Mathematics - measuring
Visual Arts
Time needed for project:
1 hour plus drying time
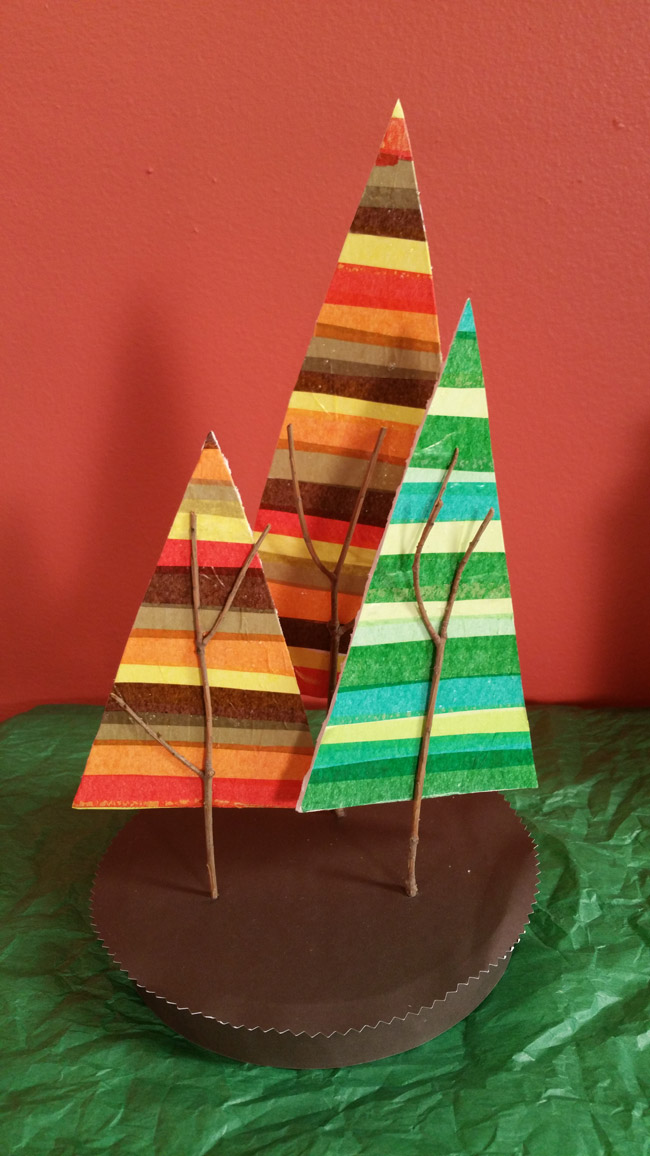
STRIPED TREES
Designed by Cheryl Ball
Materials needed:
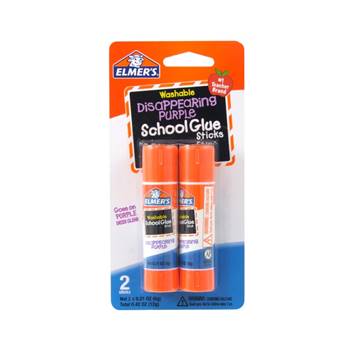
Elmer’s® Disappearing Purple Glue Stick
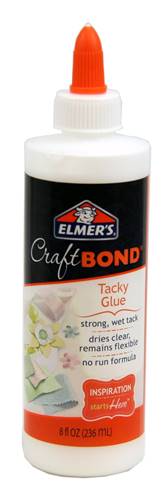
Elmer’s® Craft Bond® Tacky Glue
FloraCraft® STYROFOAM® Brand - 6” x 1” foam disc
Elmer’s® - Bi-Fold Foam Board or heavy cardboard
Elmer’s® Xacto Craft Knife
Canson® Mixed Media paper
Basic Supplies:
Tissue paper – 4 greens, brown, red, yellow, orange, brown, metallic gold
Cardstock – brown
Thin sticks
Pencil
Scissors
Pinking shears – optional
Sewing pins
Ruler
Craft mat
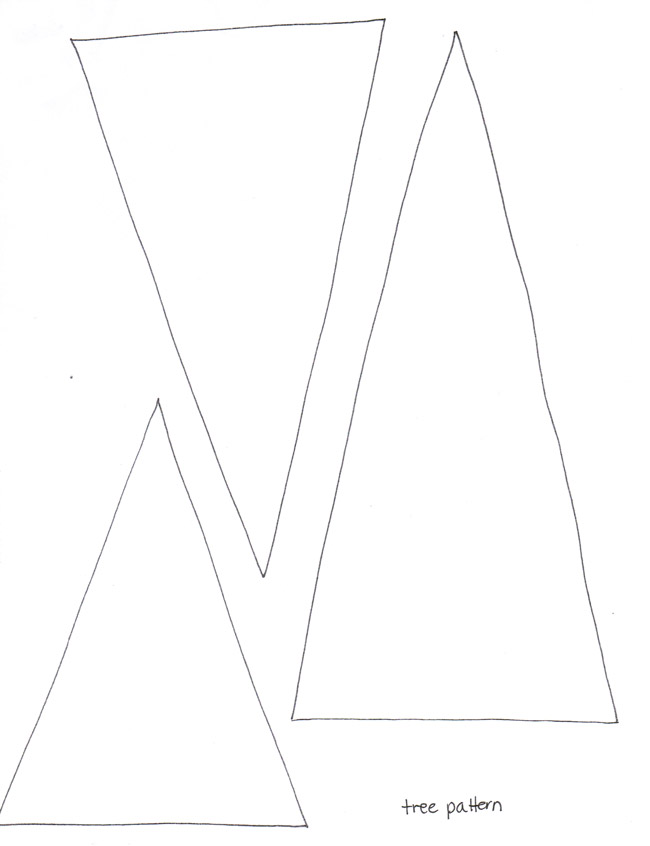
Patterns
Directions:
- Cut patterns from pattern sheet. Use a pencil to trace trees onto foam board. Have an adult cut the trees from the foam board using a craft knife with a craft mat underneath. Set aside.
- Use scissors to cut tissue paper into ½” strips.
- Using glue stick, cover a section of the mixed media paper slightly larger than a pattern piece. Press a strip of tissue into glue. Apply another strip slightly over lapping. Add alternating strips of tissue to end of glue. Repeat for other trees. Use greens for one and earth tones for others. Let dry.
- Glue foam board trees to back of mixed media paper that has colored tissue strips on the opposite side. Allow to dry, then cut out the finished tree.
- Measure and cut a 1” strip from brown paper long enough to go around the disk. Next, trace around disc onto brown cardstock. Use scissors or pinking shears to cut out round adding about ½”.
- Apply glue to disc edge, add paper strip and secure ends with pins. Apply glue to top of disc and press paper round into place. Let dry.
- Cut sticks to fit trees. Find the flattest side of stick to place on tree. Apply a thin bead of glue along places of stick that touch tree then press in place.
- Determine placement of tree on disc then use a pencil to poke holes. Note: some holes may need to be a slight angle for trees to stand straight. Add a drop of glue to end of stick then press into hole.
|