Hands on Crafts For Kids is the resource for kids craft projects and instructions for kids 6-12 and parents, teachers and other group leaders. It includes school and curriculum based projects, multi cultural projects, and every day, holiday and seasonal ideas.
It is the online home of the public television program Hands On Crafts for Kids.
When you see the “helping hand” symbol on a project, it means you may need adult supervision to do the project.
Always cover your work surface with a mat or some type of protective covering like wax paper or plastic. Always use care when using tools or a heat source. Be careful and safe!
Age Range: 7 to 12
Grade Range: 2 to 6
Skill Level: Moderate
Appropriate for These Special Events:
Christmas, Every Day and Rainy Days
Supports Subject Area(s) of:
Language Arts – e.g. step by step instructions
Mathematics – measuring
Time needed for project:
1½ hours plus drying time
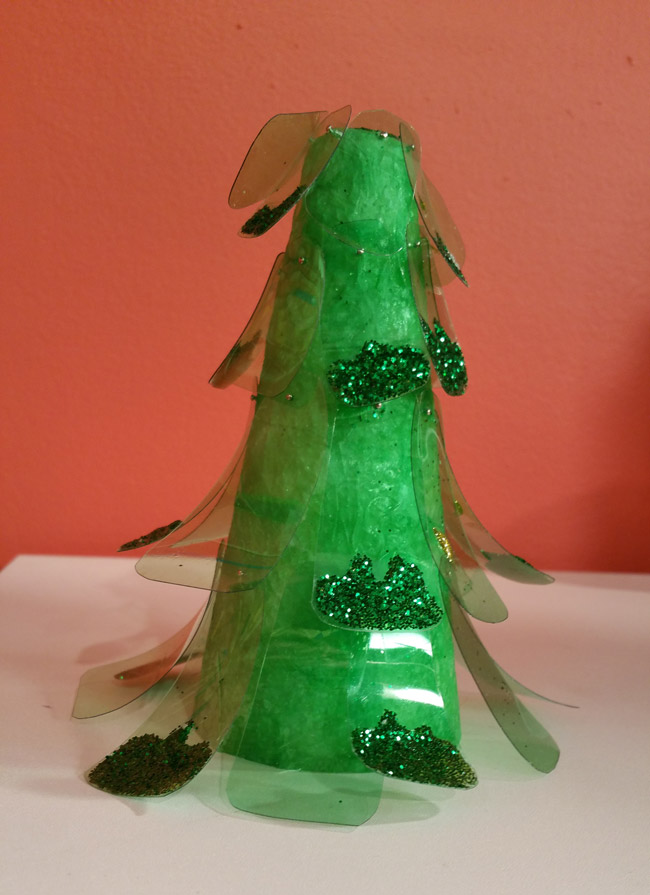
GLITTERED TREE
Designed by Cheryl Ball
Materials needed:
Elmer’s® Clear School Glue
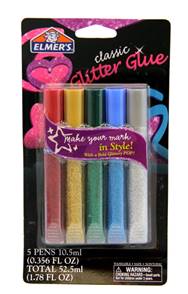
Elmer’s® Classic Glitter Glue – Green
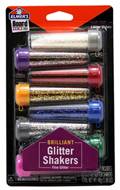
Elmer’s® Glitter Shakers
FloraCraft® STYROFOAM™ Brand Foam - 6” cone (optional: other sizes)
Basic Supplies:
Marker for tracing pattern
Green plastic liter bottle
Tissue paper – medium green
Foam or paper plate
1” flat brush
Short sewing pins
Scissors
Scratch paper
Emery board
Toothpicks
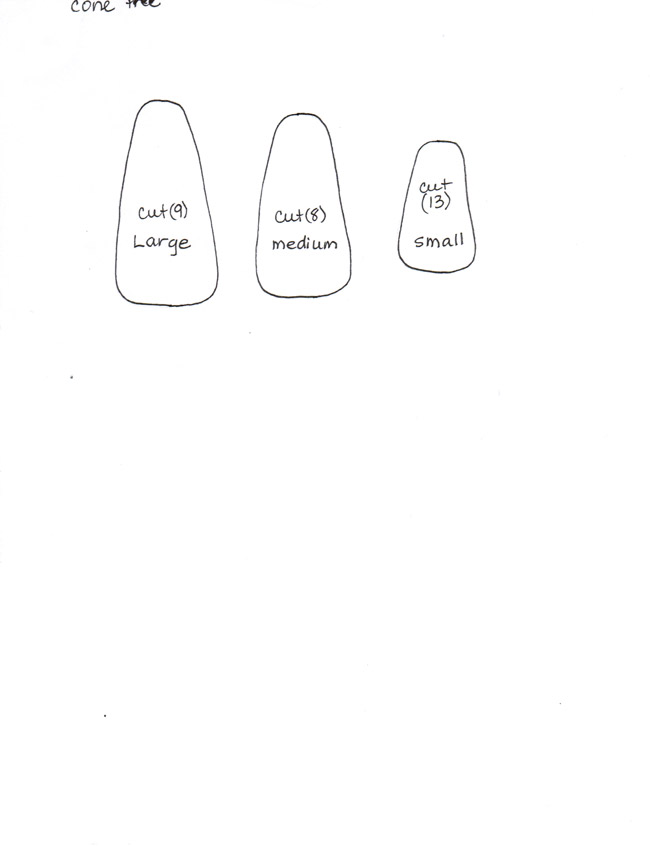
Pattern
Directions:
Measure and cut 1” strips from tissue then cut into squares.
Squeeze a puddle of Clear Glue onto plate. Use brush to apply an even coat onto top half of cone. Tap brush on tissue square then place on tip of cone. Brush on another thin coat of glue smoothing tissue. Pick up another square and press in place slightly overlapping the first. Repeat step with remainder of top of cone adding more glue as needed.
For ease of holding wet cone, push three toothpicks into bottom. Repeat step covering remainder with tissue. Let dry.
Wash and dry liter bottle. Use scissor to carefully cut off top and bottom of bottle then remove label. Cut down side of bottle removing adhesive section.
Cut patterns from sheet. Hold pattern in place going around the curve of the bottle. Trace with marker then cut out. Cut out number indicated on pattern. Repeat step with remaining patterns.
The plastic must be scuffed up for the glue to adhere. Use the emery board to rub along the bottom ½” or so on the curved side. Scuff up at least half of each size or desired number.
Place a piece of scratch paper on work surface. Squeeze an irregular line of Green Glitter Glue along edge then immediately sprinkle green glitter over glue. Carefully tap excess onto paper repeat step with remaining pieces. Set on foam plate to dry. Add glue and glitter to top of cone for a finished look. When dry use brush to remove any excess glitter. Leftover glitter can be returned to glitter container.
Push a pin into each section from curved side to back about ¼” from top. Use ruler to measure about 2” up from bottom edge of cone then press in a pin. This will be the height to follow for the first row. Squeeze a puddle of glue onto plate. Dip pin into glue then push into foam. Add a row of large pieces evenly placed around cone. Measure 3 ½” up for next row then add the medium pieces. Add next row of small pieces about 1 ½” down from tip then add remaining around top.