Age Range: 7 to 12
Grade Range: 2 to 6
Skill Level: Easy
Appropriate for These Special Events:
Every Day and Rainy Days
Supports Subject Area(s) of:
Language Arts – e.g. step by step instructions
Visual Arts
Time needed for project:
1 hour plus drying time
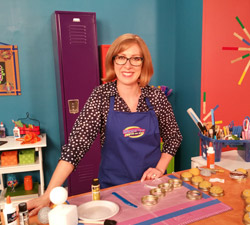
Memo Board
Designed by Cheryl Ball
Materials needed:
STYROFOAM™ Brand Foam – 2 ½” balls
Elmer’s® Craft Bond® Glue
Elmer’s® Classic Glitter Glue Pack
Optional: Elmer’s® Cork Board
Basic Supplies:
Jar rings
Acrylic paint – silver or gold metallic
Metallic Ribbon – ¼” wide – 1 yard, gold or silver
Foam or paper plate
Brush
Tooth picks
Serrated plastic knife
Sewing pins
Scissors
Scrap foam
Directions:
- For ease of painting, insert three toothpicks into balls.
- Squeeze a puddle of paint onto foam plate. Use brush to paint entire ball then press toothpicks into scrap foam to dry. Remove toothpicks.
- Use serrated knife to cut foam balls in half.
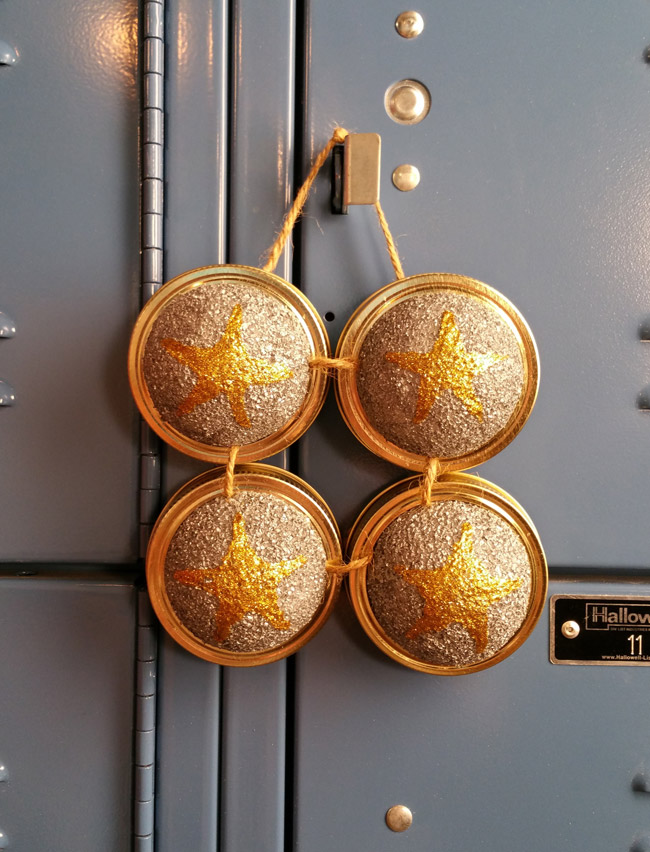
- Cut three 6” lengths of ribbon. Tie two rings together with ribbon tying knot at back. Repeat step tying two more lids together to form row. Trim ends of knots.
- Push half balls into rings till snug then flip over. To secure balls in ring, drip dots of glue down sides of ball at four points, squeezing enough to drip to ring. Let dry.
- To create hanger, tie ends of remaining ribbon in knot. Add glue to knot then press between ring and foam on end ring. Let dry.
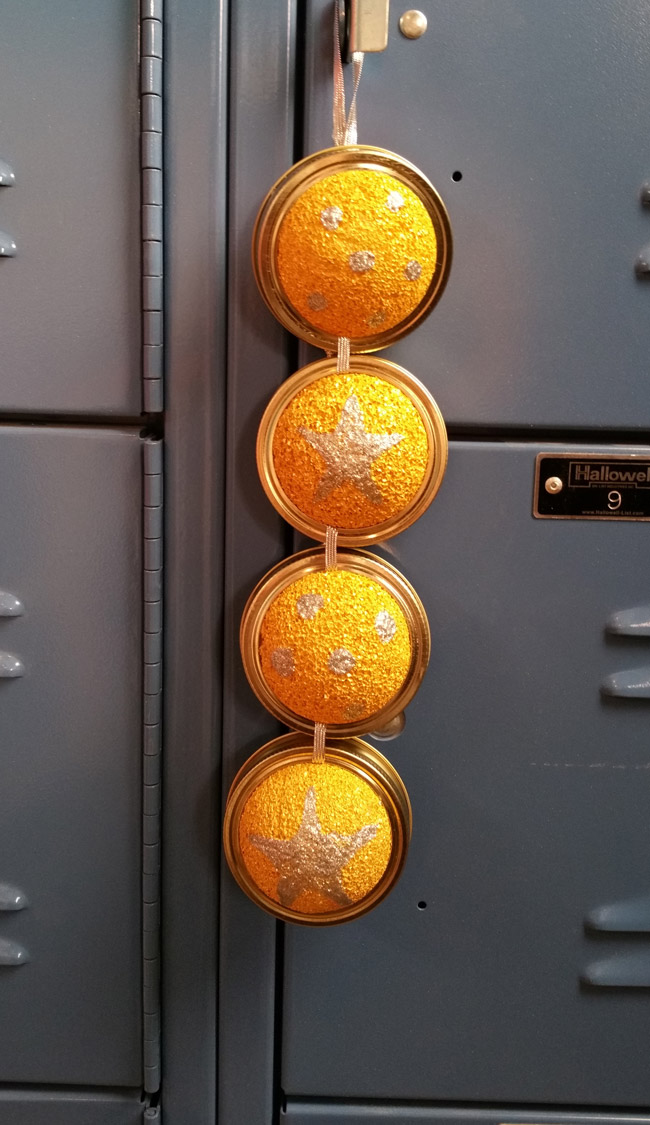
- Detail with Silver or Gold Glitter Glue. Squeeze paint onto foam in star or dot patterns. Use sewing pin to pull out tips of stars for a more pointed end. Let dry.
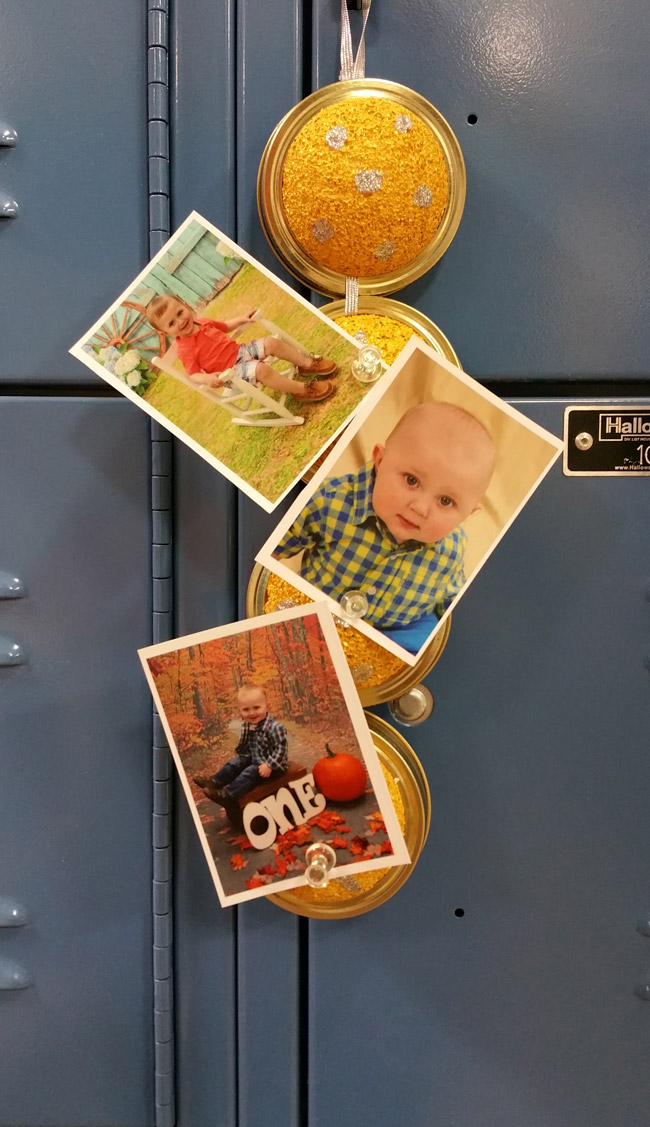
Optional: Apply rings to cork board for garden memo board.
Note: These can be configured in many ways with as many lids as you want. 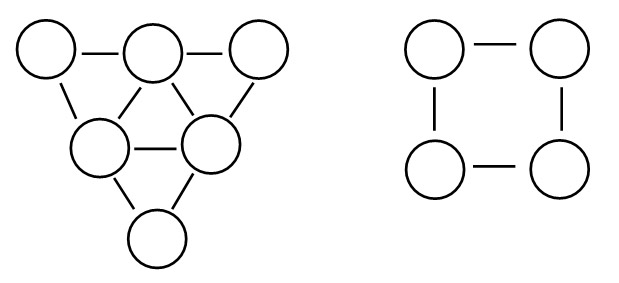
|