Age Range: 7 to 12
Grade Range: 2 to 6
Skill Level: Easy
Appropriate for These Special Events:
Fall, Halloween, Every Day and Rainy Days
Supports Subject Area(s) of:
Language Arts – e.g. step by step instructions
Visual Arts
Time needed for project:
1 hour plus drying time
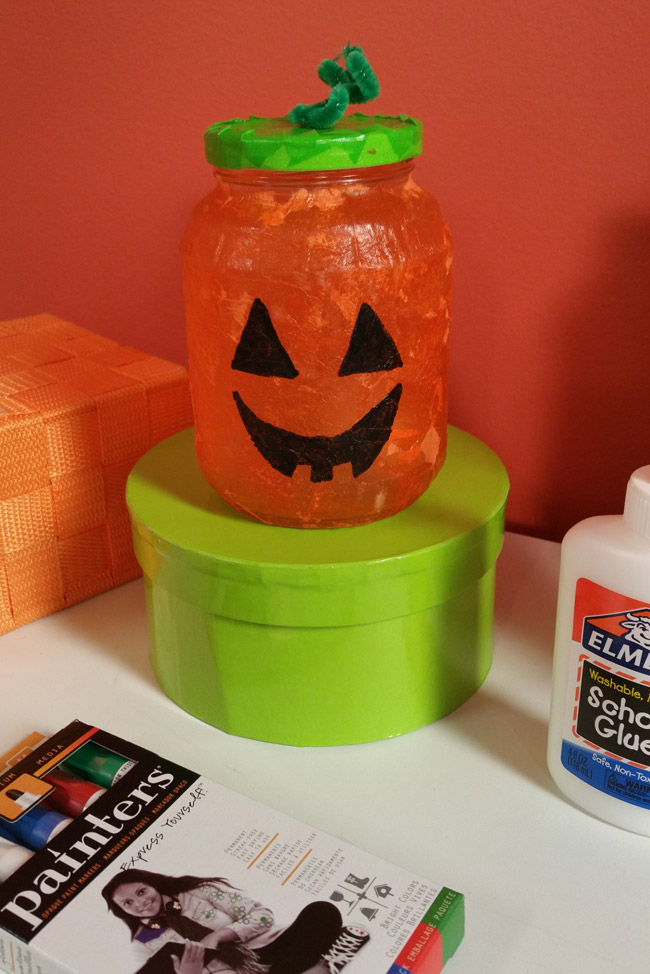
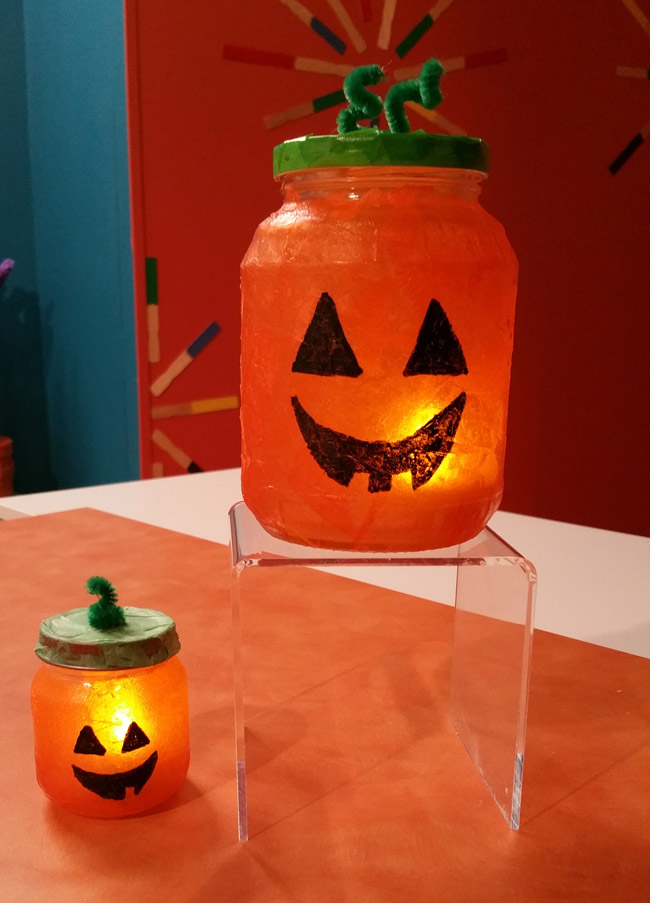
Pumpkin Luminary
By Carissa Bonham
Materials needed:
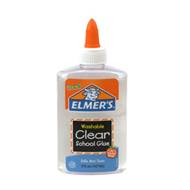
- Elmer’s® Clear Glue
- Elmer’s® Painters Opaque Paint Marker - black
- Baby food jar and lid (rinsed and label removed)
- Orange paper napkin
- Foam brush
- Green washi tape
- Green chenille stem
- Battery powered tea light
Directions:
1. Tear off small pieces of the napkin and separate the plies from each other.
2. Paint a thin layer of clear glue on the jar. Place a napkin piece on the glue, pressing down into the glue. Dab more glue over the top with the foam brush. Continue in this manner around the jar until the entire jar is covered except for the collar. Set the jar aside to dry.
3. Once dry, use the black paint marker to draw a face on your jack o lantern.
4. Make the top by covering the lid of the baby jar with strips of washi tape. Depending on the opacity of your tape, you may choose to do two layers of tape in order to cover up any writing on the lid of the jar. To give the lid a finished edge, run a strip of tape around the perimeter of the lid and then fold down onto the top.
5. Make a stem by cutting a 2-3 inch piece of green chenille stem. Wrap the chenille stem around a pencil to make a curly Q. Bend the bottom to create a flat area where you can attach it to the lid. Attach stem to lid with a glue dot.
6. Add a battery powered candle to the jar and reattach the lid
For more information visit www.creativegreenliving.com |