www.craftsforkids.com

Hands on Crafts For Kids is the resource for kids craft projects and instructions for kids 6-12 and parents, teachers and other group leaders. It includes school and curriculum based projects,  multi cultural projects, and every day, holiday and seasonal ideas.

It is  the online home of the public television program Hands On Crafts for Kids.

1809-4 Print | Close [X]

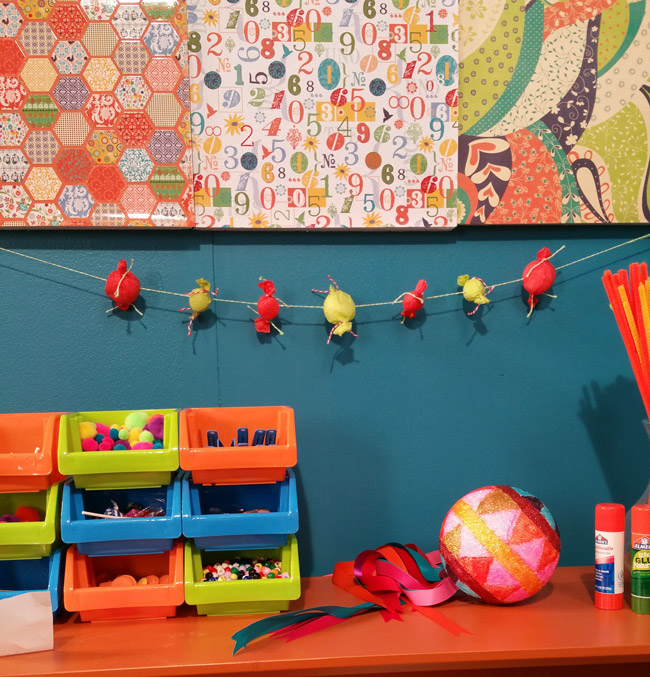
Candy Garland


Hosts: Jenny Barnett Rohrs

Always cover your work surface with a mat or some type of protective covering like wax paper or plastic.
                                                    
Always use care when using tools or a heat source. Be careful and safe!


Age Range: 7 to 12

Grade Range: 2 to 6

Skill Level: Easy

Appropriate for These Special Events:
Every Day and Rainy Days

Supports Subject Area(s) of:
Language Arts – e.g. step by step instructions
Visual Arts

Time needed for project:
1 hour plus drying time

 Candy Garland
By Angie Holden

Materials neded:

  • Elmer’s® Clear Glue
  • 1 inch FloraCraft® STYROFOAM™ Brand balls
  • 1 ½ inch FloraCraft® STYROFOAM™ Brand balls
  • Tissue paper (2 colors) OR 6” FloraCraft® Design It® SimpleStyle® Glittered Organza (napkins are also great)
  • Baker’s twine (2 colors)
  • 48” Ribbon or cord
  • Mini rubber bands
  • Long needle
  • Scissors

Directions:
1.  Cut tissue paper (or organza) into 4 x 4 inch pieces for 1” Styrofoam balls and 6 x 6 inch pieces for the 1½” Styrofoam balls.
2.   Wrap the balls in the tissue paper using a dab of glue and twist the two ends creating a wrapped candy look.  Use the mini rubber bands to hold the twists in place.  
3.  Cut 4” lengths of ribbon or twine. Tie one end of the ribbon or twine to the twisted end of one ball and tie the other end to another twisted end of another ball.  Continue connecting as many balls together as wanted.  When done, add a piece of ribbon or twine to the ends to hang.

 For more information visit www.thecountrychiccottage.com

Our Partners:


www.elmers.com
www.makeitfuncrafts.com