|
Age Range: 7 to 12
Grade Range: 2 to 6
Skill Level: Advanced
Appropriate for These Special Events:
Every Day and Rainy Days
Supports Subject Area(s) of:
Language Arts – e.g. step by step instructions
Mathematics - measuring
Visual Arts
Time needed for project:
1 hour plus drying time
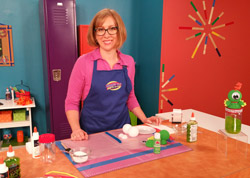
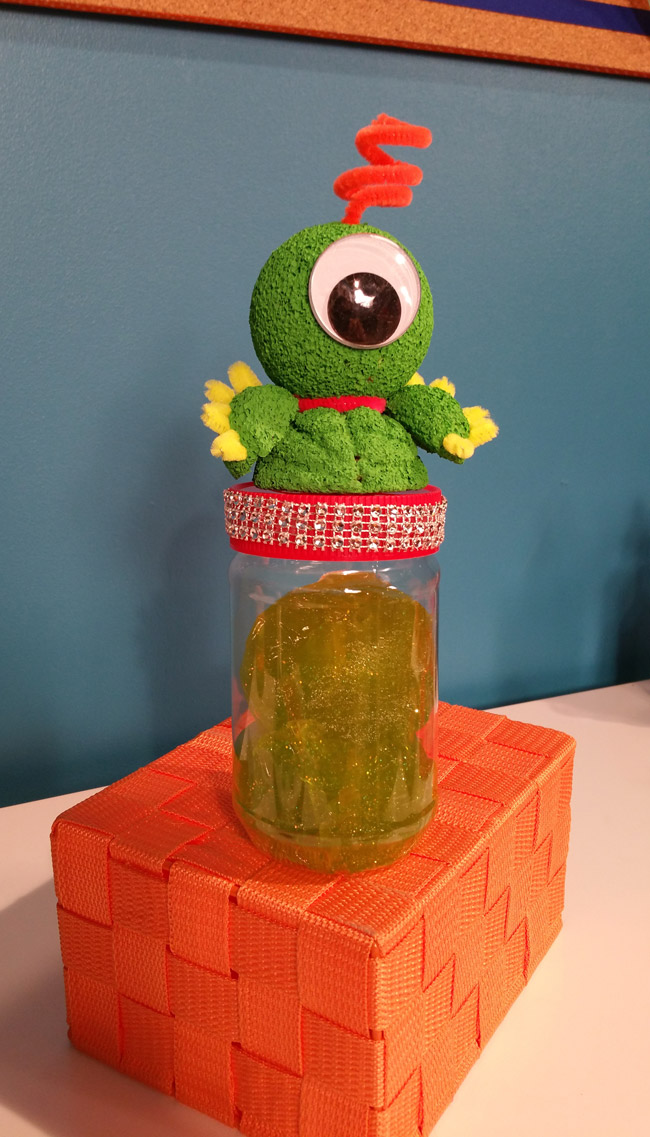
Glitter Slime
Designed by Lisa Galvin
Materials needed:
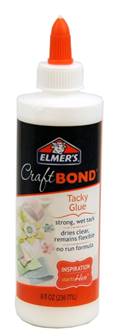
Elmer’sÒ CraftBondÒ Tacky Glue
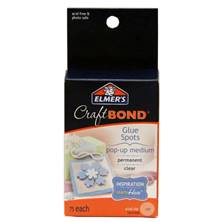
Elmer’sÒ Pop-up Glue Dots, medium
2 FloraCraft® STYROFOAMÔ Brand 2 ½” balls
1 FloraCraft® STYROFOAMÔ Brand 1 1/4” ball
FloraCraft: Design ItÒ SimpleStyleÒ Diamond Wrap, silver
Scrap piece of FloraCraft® STYROFOAMÔ brand 1” sheeting
6mm Neon chenille stems in yellow, orange and pink
PlaidÒ Apple BarrelÒ Spring Green acrylic paint
1 – 1 3/8” wiggle eye
Recycled peanut butter jar, cleaned
Plastic reclosable bags
Craft stick
Toothpicks
Serrated plastic knife
Scissors
Supplies For Slime:
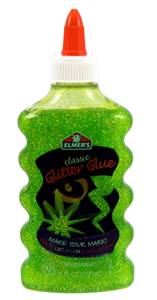
8 oz. bottle Elmer’sÒ Classic Glitter Glue, green
Elmer’sÒ CraftBondÒ Tacky Glue
1 teaspoon Borax (found in laundry detergent section in stores)
Measuring cup
Bowl
1 cup very warm (not hot) water
Directions:
1. Cut one 2 ½” ball and 1 ¼” StyrofoamÔ balls in half using serrated knife. Rub halves together to sand off any rough edges. Set one 2 ½” ball half aside for another day’s project.
2. Press each half of the 1 ¼” balls between your thumb and a hard surface to make pinched triangle shaped “arms”. Use craft stick to press alien-like lines or shapes into the a 2 ½” ball half.
3. Pour a small amount of Spring Green acrylic paint into reclosable bag. Place remaining ball and all ball halves into bag. Close top and roll all pieces around in paint until coated. Add additional paint as needed to completely cover. Open bag, remove all pieces one at a time by inserting tip end of a toothpick, sticking opposite end of toothpick into scrap piece of StyrofoamÔsheeting to suspend until dry. Repeat for remaining pieces. Let dry completely before continuing.
4. Turn 2 1/2” ball half upside down for body. Connect 2 ½” head ball to body with three toothpicks. Add a drop of glue to one end of a toothpick and insert into top of body in neck area. Repeat for remaining two toothpicks, inserting them about ½” apart. Add a drop of glue to top of each toothpick and press head ball down onto body.
5. Wrap a neon pink chenille stem around alien’s neck and twist at back. Repeat process used in step 3 to attach arms, using small cut pieces of toothpick to secure in place just as in step 4.
6. Attach wiggle eye to head using glue dot. Curl a short section of the neon orange chenille stem around your finger and insert one end into head for hair. Cut 9-10 short pieces (approximately 1 ¼” long) of neon yellow chenille stem. Fold each in half and insert into foam on top of arms.
7. Measure around peanut butter lid and cut a strip of FloraCraftÒ silver diamond wrap to fit once wrapped around. Use glue dots to attach. Attach alien to top of lid with glue dots.
To Make Glitter Slime
1. Mix glue and water. Add borax and continue mixing to blend. The “slime” will separate almost immediately from the water and become clumpy.
2. Finish mixing with hands to form into a ball. Pour off excess water. The slime can be stretched and manipulated in many ways. When not in use, place in a reclosable bag and store in Alien’s Have Landed jar.
|
