Age Range: 7 to 12
Grade Range: 2 to 6
Skill Level: Moderate
Appropriate for These Special Events:
Every Day and Rainy Days
Supports Subject Area(s) of:
Language Arts – e.g. step by step instructions
Time needed for project:
1 hours plus drying time
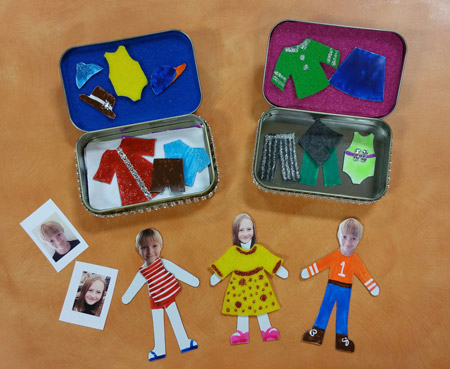
Personalized Magnetic Paper Dolls
Designed by Lisa Galvin
Materials needed:
Elmer’s CraftBond All Purpose Glue
Elmer’s Pop-up Glue Dots, medium
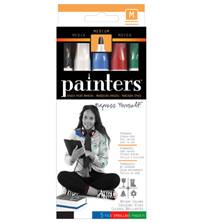
Elmer’s Painters opaque paint markers, medium tip, assorted colors
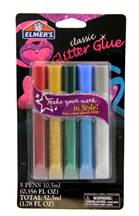
Elmer’s Classic glitter glue pens, assorted colors
FloraCraft: Design It SimpleStyle Diamond Wrap, silver
Wrigley: Altoid metal mint box, empty
Darice: 9” x 12” Flexible magnetic sheet with synthetic paper painting surface
Photo paper
Digital image of child’s face
Home printer
X-ACTO Knife & Self Healing Cutting Mat
Fine tip fountain ink pen (not gel type)
Fine tip black marker
Felt scraps, assorted colors and styles
Cardstock
Scissors
Ruler
Toothpick
TIPS:
Test fountain-style fine tip ink pen to make sure that it does not smudge when drawing on magnetic sheet. It is also good to test the ink to see if it smears when coloring over it with the paint markers.
Store your clothing patterns in an extra Altoid box so that they are handy to make a whole new wardrobe of clothes later!
Directions:
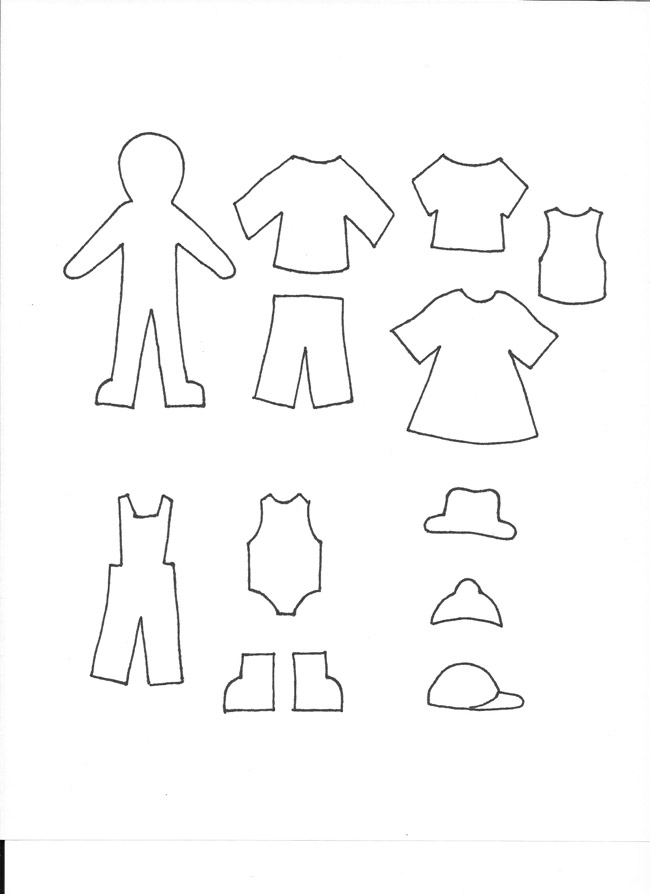
1. Use home printer to print clothing and accessory patterns provided onto cardstock. If printing on white cardstock, I like to use a marker to make zigzag marks on my patterns; this will easily identify them as you are working. Use scissors to cut out all patterns. Adjust digital image of child’s head to fit over head portion of body pattern. Print two or more, “heads” and cut out.
2. Trace patterns onto magnetic sheet. For best results, trace patterns close together to make the best use of the material. (Remember – you are going to be cutting these out later, so give yourself enough room to work with!)
3. Use paint markers to style and color magnetic clothes as well as doll body. This can be done before or after cutting. Try both to see which method you prefer. Let dry (if needed). Cut all pieces out using scissors or X-ACTOÔ knife and self-healing mat; cutting inside traced lines so that lines are not visible on finished pieces. Glue printed head(s) on doll bodies with a thin layer of glue.
4. Embellish clothes using glitter glue pens, pieces of silver diamond wrap, felt and other miscellaneous craft scraps. Glue on any embellishments, using a toothpick to apply a fine bead of glue.
5. For felt clothing, trace patterns onto scrap felt using fine-tip black marker. Use scissors to cut out, cutting inside lines to remove tracing marks. Embellish with glitter glue, diamond wrap, additional felt colors, or other scrap craft materials. Glue pieces of scrap magnetic sheet to back of clothing for use when attaching to doll.
6. Trace Altoid box lid onto magnetic sheet for box cover. Cut out with scissors and trim any excess to fit box lid. Trace body only onto the cut magnetic sheet and glue head on top of body. Use paint markers to color and embellish background on outside edges of body. You can leave it a plain color (as shown here), add some design elements to make “wallpaper”, or even draw a scene in your background!
7. Use black fine tip marker to trace Altoid box lid onto a scrap piece of felt. Use scissors to cut along line and trim slightly (if needed) to fit inside lid. Apply a thin layer of glue to inside of lid and press cut felt piece in place.
8. Measure width and length of outside bottom edge (below lid level) of Altoid box. Cut a length of silver FloraCraft: diamond wrap to fit. Stretch medium pop-up glue dots to fit outside corners, and both front and back center portions of Altoid box. Beginning at back of box, press the cut strip of diamond wrap onto glue dots as you work your way around the box. Use toothpick to apply glue on bottom edge of diamond wrap to secure to Altoid box.
Sources
Darice
www.Darice.com
Elmer’s Products, Inc.
460 Polaris Pkwy.
Westerville, OH 43082
1-800-879-4868
www.elmers.com
FloraCraft
Ludington, MI 49431
www.designitflowers.com
Wrigley
1-800-WRIGLEY
http://www.wrigley.com/global/brands/altoids.aspx
|
