www.craftsforkids.com

Hands on Crafts For Kids is the resource for kids craft projects and instructions for kids 6-12 and parents, teachers and other group leaders. It includes school and curriculum based projects,  multi cultural projects, and every day, holiday and seasonal ideas.

It is  the online home of the public television program Hands On Crafts for Kids.

1903-1 Print | Close [X]

STARCATCHER
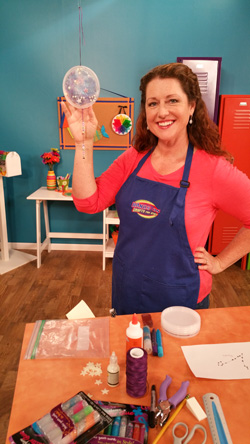
Jenny Barnett-Rohrs makes a glittery star catcher featuring the constellations.


Hosts:
Jenny Barnett-Rohrs


When you see the “helping hand” symbol on a project, it means you may need adult supervision to do the project.


Always cover your work surface with a mat or some type of protective covering like wax paper or plastic.
                                                    
Always use care when using tools or a heat source. Be careful and safe!

Age Range: 7 to 12

Grade Range: 2 to 6

Skill Level: Easy

Appropriate for These Special Events:
Every Day, Home Dec, Gift Giving and Rainy Days

Supports Subject Areas of:
Social Studies
Language Arts – e.g. step by step instructions
Visual Arts

Time needed for project:
1 hour plus drying time

E656  

Star Catcher
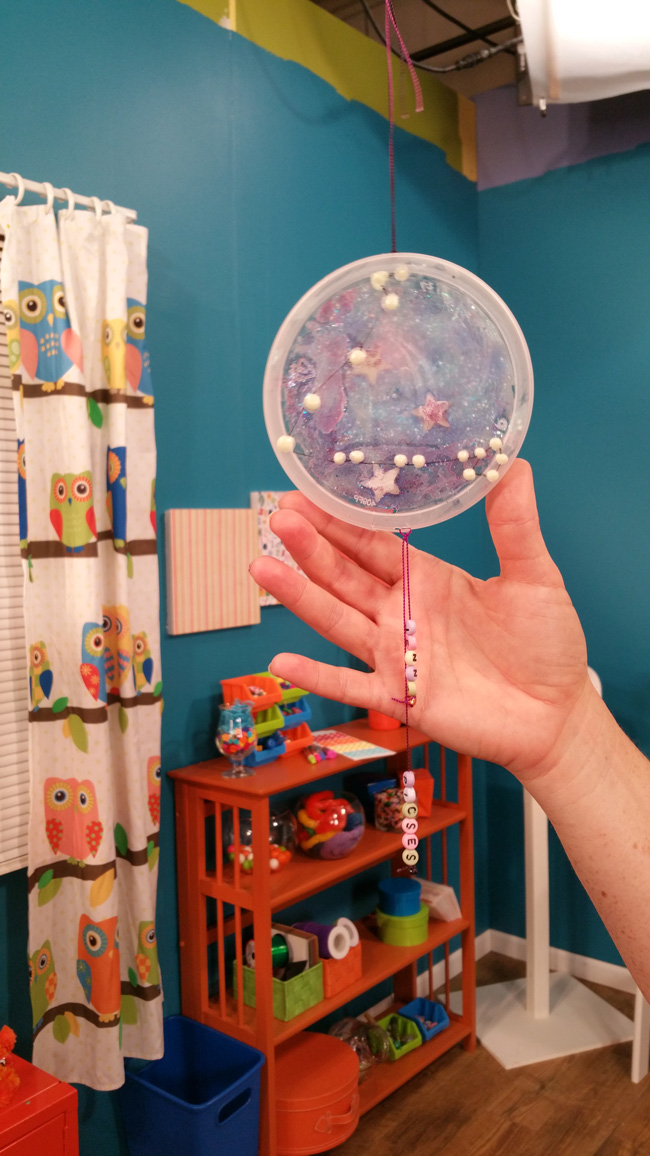
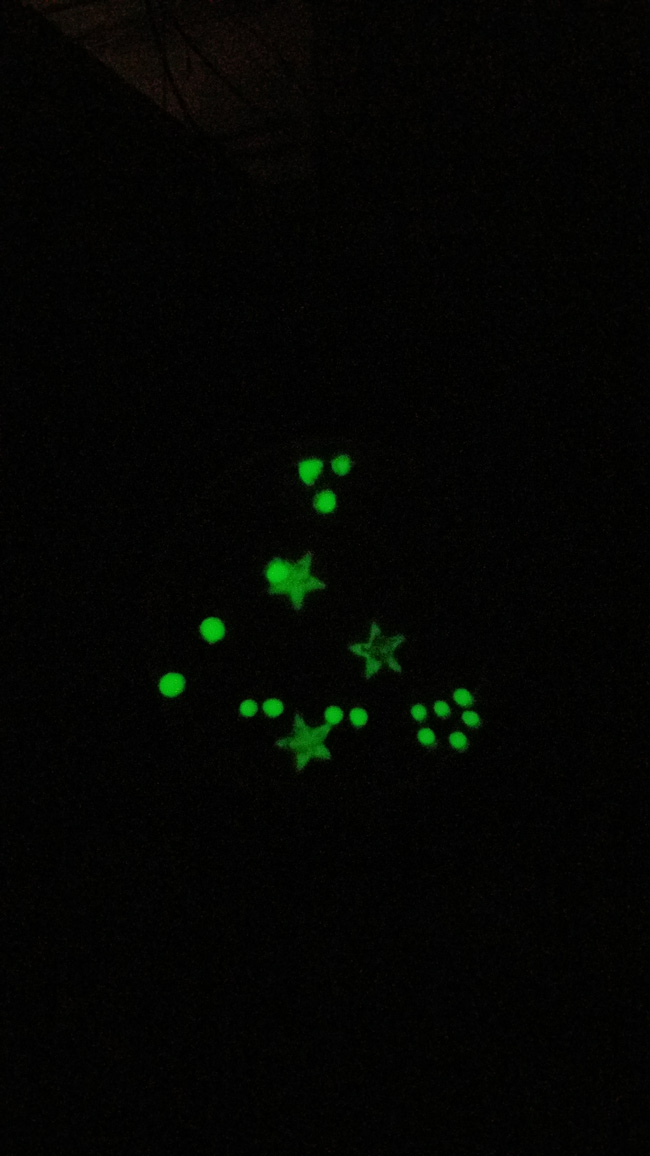
Let’s dream of the stars AND learn a bit about our universe with this “star catcher” craft that is based on constellations! See the instructions for the constellation that appears in the sky during YOUR birthday to make it personal as well as educational. Let it hang in the singer during the day, and at night your constellation will glow!

Materials:

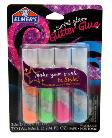
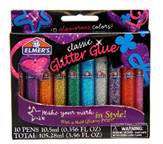
  1. Elmer’s® Glitter Glue
  2. Elmer’s® Tackey Glue
  3. Clear plastic container lids, 6 inches across
  4. Glow-in-the-dark puffy paint
  5. Fine line permanent marker
  6. Sandpaper
  7. Small hole punch
  8. Cord for hanging
  9. Scissors
  10. Ruler (optional)
  11. Alphabet beads for naming (optional)
  12. Glow-in-the-dark stars (optional)

1903-1_INST_2pattern.pdf

1903-1_INST_3pattern.pdf

Directions:

  1. Find the constellation you would like to use and print it out.
  2. Prepare the plastic lid by sanding lightly with sandpaper so the glue will stick well.
  3. Using your books and printouts as reference, make the “points” of your constellation with the permanent marker on the top of the lid. Connect the dots using marker.
  4. Using the glow in the dark puffy paint, place 1 dot of paint on each of the star points. Let dry.
  5. Flip the lid over so that the “stars” are on the underside. Using the glitter glue, make a background nebula with purple, blue, and even pink glitter glue. Swirl with a cotton swab or your finger blend the colors. Let dry.
  6. Using the small hole punch, make a hole at the top for hanging. If you like, use alphabet beads to spell out the name of the constellation or your name.


For more information visit: www.CraftTestDummies.com


Our Partners:


www.elmers.com