|
Age Range: 7 to 12
Grade Range: 2 to 6
Skill Level: Moderate
Appropriate for These Special Events:
Every Day, Home Dec, Gift Giving and Rainy Days
Supports Subject Areas) of:
Language Arts – e.g. step by step instructions
Visual Arts
Time needed for project:
1 hour plus drying time
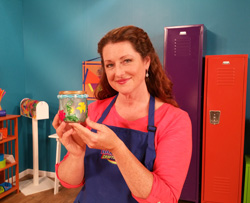
Designed by Lisa Galvin
Materials:
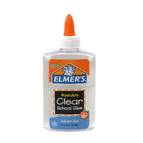
Elmer’s® Clear School Glue
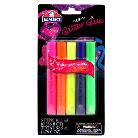
Elmer’s® Neon Glitter Glue Pens: green, pink, blue, yellow, and orange
Pepperell® RexLace®: 20” length Mint-toned
Small recycled glass food jar, clean (used here was an olive jar)
Translucent turquoise and frost pony beads (11 total used here)
Tissue paper scraps: mint green and light blue
Construction paper: Blue, orange, yellow
Embroidery floss: Green, light green, red
Battery operated votive candle
13/16” circle paper punch
1/16” circle hand punch
Flat paintbrush
Scissors
Toothpick
Small, reclose-able plastic bag
Paper towel
Disposable plastic cup and bowl
Scrap paper
Directions:
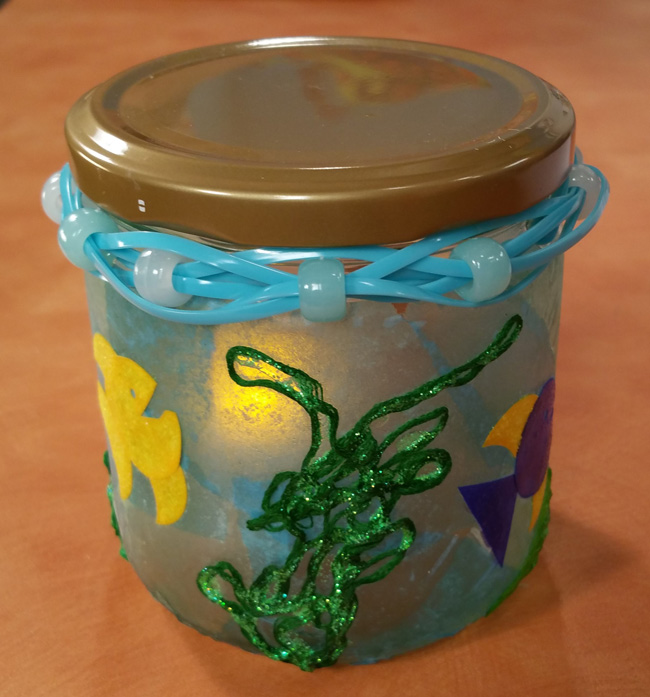
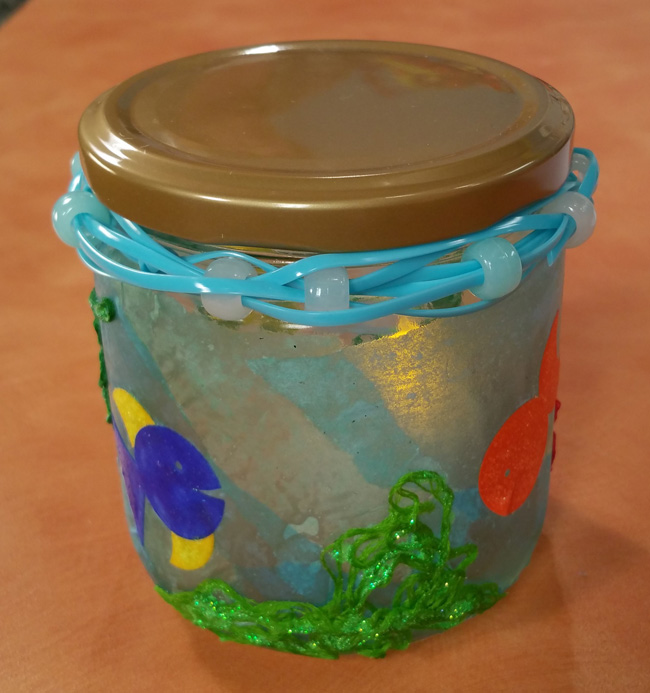
1. Tear aqua and light blue tissue paper into small pieces (approximately 1 – 3”) and set aside.
2. Fish. Using 13/16” circle punch and colored construction paper, punch one circle for each fish body. Moon-shaped tail is created by repositioning the 13/16” circle punch over hole created from previously punched piece and punching. With scissors, cut a few of the moon shapes in half for top and bottom fins. Small triangles cut from construction paper scraps also make fun tails and fins.
Use 1/16” hand punch to punch tiny “eyes” in each circle. With scissors, cut fish’s mouth just below its eye. On a scrap piece of paper, pre-assemble your fish in preparation for applying to jar. Fish sometimes have fin colors that are different from their body color, so it is fun to mix and match colors as you assemble them.
3. On a covered work surface, use paintbrush to mix one-part clear school glue to 1½ parts water in a disposable plastic bowl. Coat a small section of the vase with the glue mixture, then randomly press pieces of tissue onto surface, overlapping as needed until the vase is completely covered.
4. Decorate. Brush glue mixture over a small area of the tissue paper covered jar and, beginning with tail, apply construction paper “fish” to the surface. When adding fish body, gently apply pressure at center of the circle shape only while positioning so that it overlaps tail. Before pressing outer edges of circle onto glue mixture, slip top and bottom fins in place. Press down outer edges of circle. Repeat for remaining fish. Brush glue mixture over fish and entire jar to seal well.
5. Seaweed. Use scissors to cut a 20” length of green embroidery floss. Pour a small amount of clear glue into reclose-able plastic bag. Drop the green floss into bag and close top to seal. Use fingers to move floss around inside bag so that it is completely coated with glue. Open bag and use toothpick to remove the glue-coated floss. Apply to jar and use toothpick to position it so that it resembles seaweed. Repeat with light green and red floss to make more seaweed or coral. Lightly brush top of seaweed and coral with glue mixture to press and adhere securely to jar. Let dry completely.
6. Finishing touches. Slide pony beads onto mint-colored lacing, wrap once around top of jar, pull to tighten then tie an overhand knot. One end at a time, randomly slip lace in and out of some of the beads, working your way around jar to end of lace. Repeat with opposite lace end. Trim ends with scissors (if needed).
For a little sparkle, decorate fish, seaweed and coral with neon glitter glue pens. Let dry completely.
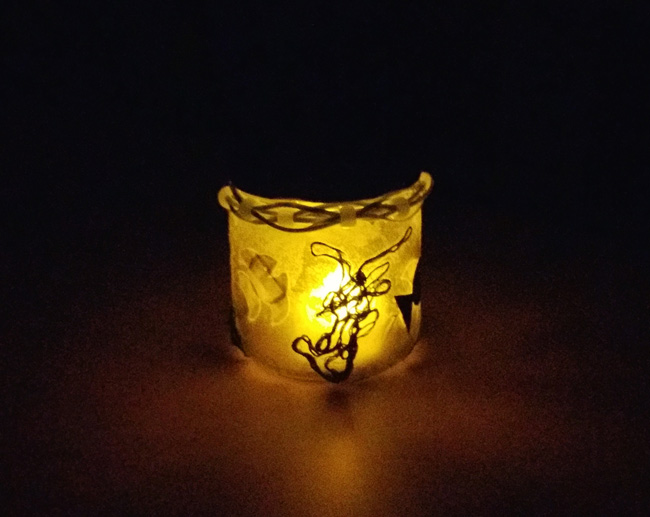
Turn battery operated candle on and insert into jar. Turn the lights out and enjoy your nightlight!
|