www.craftsforkids.com

Hands on Crafts For Kids is the resource for kids craft projects and instructions for kids 6-12 and parents, teachers and other group leaders. It includes school and curriculum based projects,  multi cultural projects, and every day, holiday and seasonal ideas.

It is  the online home of the public television program Hands On Crafts for Kids.

1906-4 Print | Close [X]

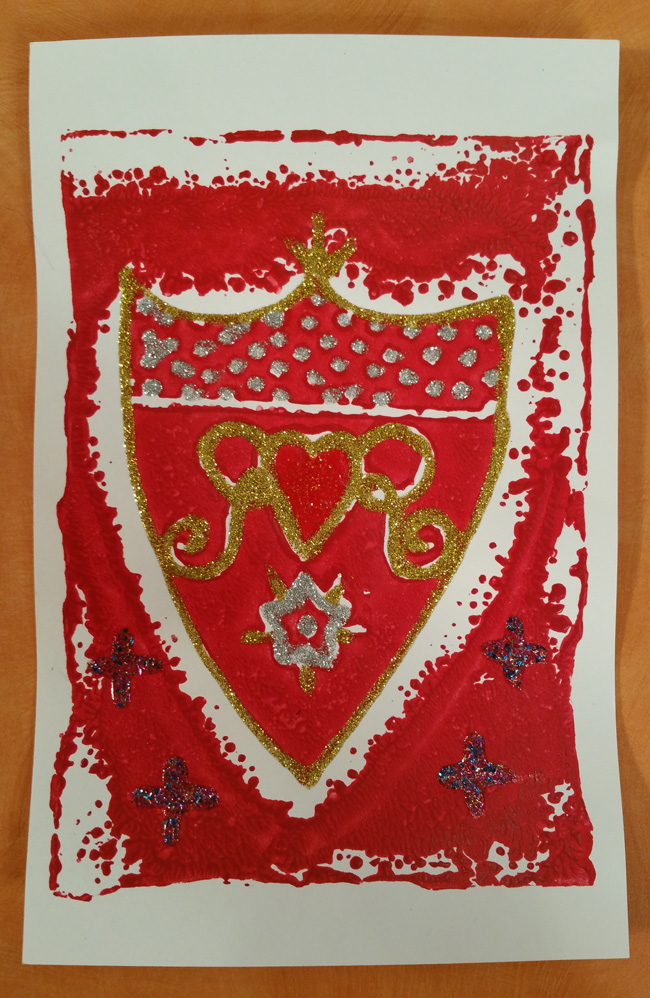
FAMILY CREST / MONOPRINTS

Jenny Barnett-Rohrs uses age-old symbols to monoprint a family crest to frame or use for banners.

Watch the video for this project online at:
https://youtu.be/9Ssdcy35Dyg


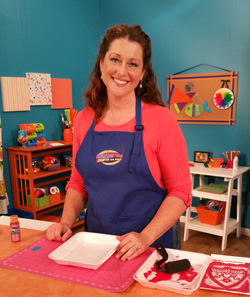
Hosts: Jenny Barnett-Rohrs

Always cover your work surface with a mat or some type of protective covering like wax paper or plastic.
                                                    

Age Range: 7 to 12

Grade Range: 2 to 6

Skill Level: Easy

Appropriate for These Special Events:
Every Day and Rainy Days

Supports Subject Areas of:
Social Studies
Language Arts – e.g. step by step instructions
Visual Arts

Time needed for project:
1 hour plus drying time

Family Crest Monoprints

Does your family have a crest? Back in Medieval times, prominent families had crests to identify them. Each crest had symbols to indicate strength. love, loyalty and lineage. Today we’ll make our own family crests and make prints to frame or banners to hang!

Materials:
Elmer’s® Glitter Glue
Foam trays
Foam paintbrush or roller
Pencil
Scissors
Paintbrush and/or bone folder
Tools to make patterns, like cake decorating tips, screwdriver, plastic fork
Acrylic paint
Heavy weight paper, copy paper

Directions:

  1. Start by researching family crests- maybe your family has one already! Pay attention to the shape of the crests, the symbols used, and the designs inside.
  2. Fold a sheet of copy paper in half. Using your research (or the template provided) as a guide, trace onto the paper using the pencil. The design should line up on the fold.
  3. Using your scissors, cut the design out and open it up. It should be symmetrical- that is, the same on both sides.
  4. Prepare the foam tray. Using scissors, cut the edges off the foam tray so you are left with one flat even piece of foam.
  5. Using the template made in step 2, trace your crest shape onto the foam using a pencil. It’s ok if you press in lightly and make a dent in the foam.
  6. Trace over the pencil lines with the end of a paintbrush to deepen and define the crest shape.
  7. Now have fun! Draw in lines, symbols, and textures! Remember that if you make a LETTER, it needs to be drawn BACKWARDS so that it prints correctly.
  8. Using a foam brush or roller, paint acrylic paint onto your crest. Make sure it’s a thin coat!
  9. Place a piece of paper on top of the wet paint. Massage gently with your fingers to make sure the paint transfers onto the paper. Let dry.
  10. Decorate your family crest with additional colors using glitter glue.

For more information visit: www.CraftTestDummies.com

Our Partners:

www.sakuraofamerica.com

www.elmers.com