www.craftsforkids.com

Hands on Crafts For Kids is the resource for kids craft projects and instructions for kids 6-12 and parents, teachers and other group leaders. It includes school and curriculum based projects,  multi cultural projects, and every day, holiday and seasonal ideas.

It is  the online home of the public television program Hands On Crafts for Kids.

1908-4 Print | Close [X]

MEMO BOARD
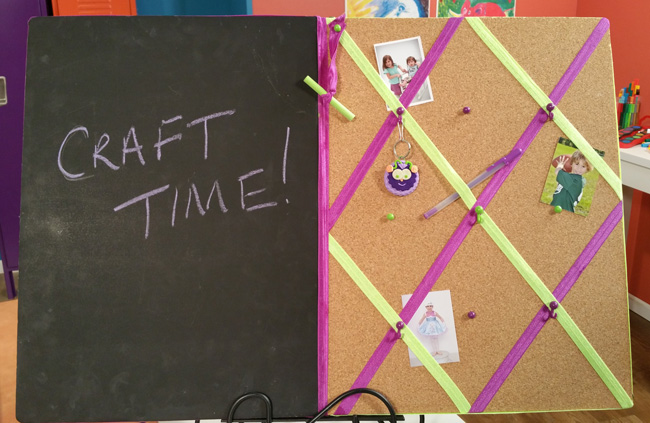
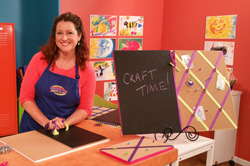
Jenny Barnett-Rohrs creates a decorator-style memo board to stay organized.

Watch the video for this project online at:
https://youtu.be/eRoUVoc7x_g


Hosts: Jenny Barnett-Rohrs


When you see the “helping hand” symbol on a project, it means you may need adult supervision to do the project.


Always cover your work surface with a mat or some type of protective covering like wax paper or plastic.
                                                    
Always use care when using tools or a heat source. Be careful and safe!


Age Range: 7 to 12

Grade Range: 2 to 6

Skill Level: Easy

Appropriate for These Special Events:
Every Day, Home Dec and Rainy Days

Supports Subject Areas of:
Language Arts – e.g. step by step instructions
Mathematics - measuring
Visual Arts

Time needed for project:
1 hour

         E3064


MEMO BOARD
Designed by Linda Gorman

Save your memories, leave your notes, make your lists- all with a memo board you make yourself!

Materials:
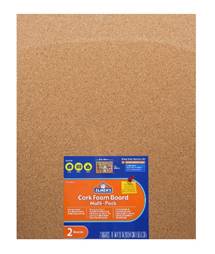
Elmer's® foam cork board
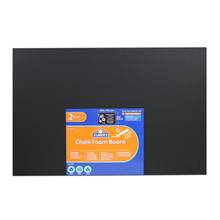
Elmer’s® foam chalk board
Elmer’s® Tacky Glue
Pencil
2 colors of elasticized ribbon
Thumb tacks/push pins
Chalk
Clothes pins
Foam brush

Directions:

  1. Decide what size your board will be. Cut down if necessary using a craft blade (adults only.) You will need a piece of chalk foam board one-half the size of the cork foam board.
  2. Place the chalk board to one side of the cork foam board to determine placement. Mark with a pencil.
  3.  Flip over and apply glue to the back of the chalk board. Spread it around with your finger or a foam brush. Place on top of the cork board, aligning it with your markings. Place a heavy book on top to help it stay flat- and let dry. (You can also secure it with clothes pins whilst it dries.)
  4. Decide if your ribbons will run north-to-south or diagonally. Using scissors, cut lengths of ribbon to stretch across the cork section of your board with enough to wrap around to the back by 2 inches. Lay them out, then add dots of white glue where they cross. Add a thumbtack at each crossing to help them stay in place. Let dry.
  5. Make a chalk holder by cutting a 9 inch piece of ribbon. Fold in half. Tie the two cut ends together by making an overhand knot. Place the loop around the chalk and pull the knotted end through the loop. Tighten gently so as not to break the chalk.
  6. Remove the push pins. Run elastic cord around the edge of the memo board, adding white glue as you go to adhere it to the edge. Keep it in place with clothes pins or thumbtacks. Let dry.
  7. Make a hanging ribbon- cut a length of ribbon 36 inches long. Glue one end to the left edge of the memo board and secure with at thumb tack. Repeat with the other end of the ribbon on the left hand side. Let dry.


Our Partners:


www.elmers.com