 |
|
|
|
 |
||
|
||||||
| |
||||||


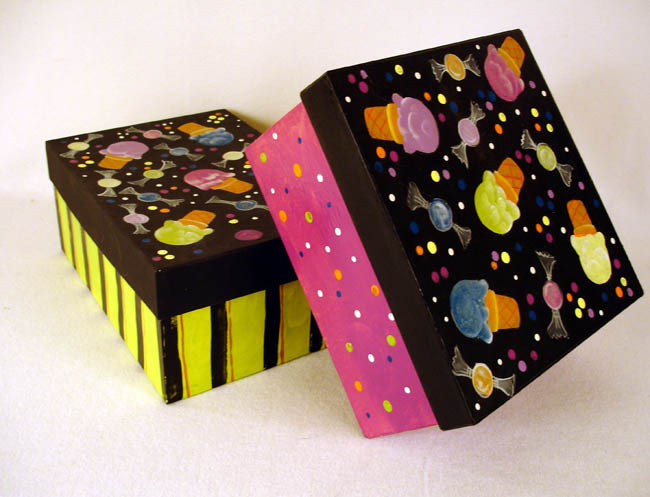
Sweets Treasure Box Always cover your work surface with a mat or some type of protective covering like wax paper or plastic. Want to make a child smile? Join SDP’s Treasure Boxes for Kids program. The object of the program is to create hand painted “treasure boxes” for youth less than 18 years old who are receiving care at Shriners Hospitals for Children. These young patients are often given small gifts to divert their attention from their pain. Treasure Boxes are containers the youngsters can use to store their toys and take them home. Learn some simple and fun painting techniques and terms: brush tip dots, side load, double load, and washes.
|
||||||||||||
 |
Main supplies:
Basic Supplies:
|
|||||||||||
|
||||||||||||

Home
| Television | Projects
| Book Order | Helping
Kids | Teachers | Philosophy
E-mail questions about Hands On Crafts for Kids to info@craftsforkids.com
© Copyright 2009 Katherine Stull, Inc.