| |
 |
|
|
|
|
 |
|
|
| |
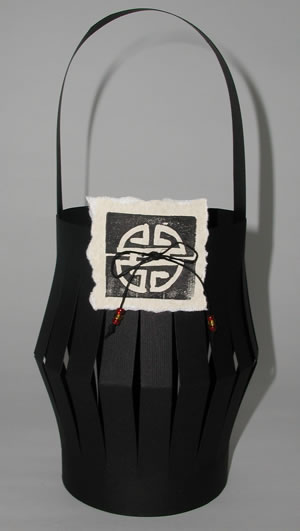
Japan Eraser Prints
By Mary Ayres
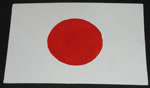
Japan
|
 When you see the “helping hand” symbol on a project,
it means you may need adult supervision to do the project. Always
use care when using tools or a heat source. Be careful and safe!
When you see the “helping hand” symbol on a project,
it means you may need adult supervision to do the project. Always
use care when using tools or a heat source. Be careful and safe!
|
|
Main supplies:
- Erasers
- Walnut
Hollow Carving tools –
- DecoArt®
Americana® Black acrylic paint
- Wedge sponges
- Heavy cardboard
- Tacky™
- Glue
- Pencil
- Fiskars®
Scissors
- Linen jewelry
cording
- Pacon®
Tagboard – natural and black
- Red and
gold “E” beads
|
Instructions:
1. The cutting tools are sharp – have
parent help with these steps.
2. Use the flat cutting tool to cut off the slanted end of
two erasers.
3. Apply glue to a square of cardboard and one edge of an
eraser and smooth with a finger. Press erasers on cardboard
and push together forming a square. Set aside to dry. Trim
excess cardboard.
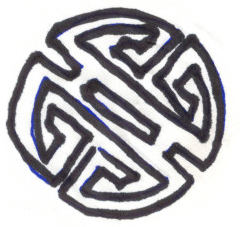
4. Trace pattern onto paper. Trim around pattern leaving a
slight border.
5. Flip pattern over and re-trace lines with pencil.
6. Center pattern, pencil side down on the eraser square then
press pattern with finger – this will transfer the pattern.
Or use a sheet of Graphite paper
7. Using the small “V” cutting tool carefully
cut the lines. Set the point of the “V” on the
line and then push along the line creating a smooth line.
Continue with entire pattern.
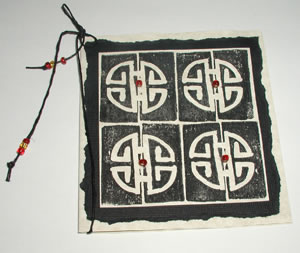
8. Squeeze a small puddle of Black acrylic on your palette.
Tap the flat end of the sponge into the paint and tap off
excess on the foil. Pounce the paint on the raised areas of
the stamp and immediately press on the natural paper. Pounce
on more paint and stamp right next to the first leaving a
scant border of paper showing. Continue with the remaining
two designs adding paint for each.
9. Cut out stamped design leaving a thin border of paper.
Apply a bead of glue to the back and smooth with finger. Press
onto black paper.
10. Tear black paper leaving a 1/4” border around design.
11. Fold a natural piece of paper. Glue layered paper close
to the fold and trim remain g paper to desired size.
12. Cut a 14” length of black cording and tie around
fold of card. Thread beads onto ends and tie into knots to
secure. Trim ends.
13. Add a dot of glue in center of each design and press bead
into place let dry.
|
| |
|
|
Home
| Television | Projects
| Book Order | Helping
Kids | Teachers | Philosophy
E-mail questions about Hands On Crafts for Kids to info@craftsforkids.com
© Copyright 2004 Katherine Stull, Inc.
|